Simple and Secure Login Demo
Overview
This overview (and the demo section below it) is meant for all readers, regardless of their level of computer/IT knowledge. The last section (Technical Details) gets into the nitty gritty of this demo and sketches out a new way to facilitate user authentication and authorization in a more decentralized, distributed manner, leveraging the cryptographic primitives built into every modern web browser.
For some background on using public key cryptography to login to websites, see this previous blog post. Here’s a thorough AI summary of why public key cryptography makes website logins simpler and more secure than passwords:
Public key cryptography is more secure than traditional username/password authentication for several reasons, primarily due to its reliance on asymmetric encryption and enhanced resistance to common vulnerabilities associated with passwords.
Key Reasons for Superior Security
Asymmetric Encryption:
Public key cryptography uses a pair of keys: a public key (shared openly) and a private key (kept secret). The private key never needs to be transmitted or shared, reducing the risk of interception or theft during communication. In contrast, passwords must be sent to the server for verification, making them susceptible to interception if not properly encrypted.
Resistance to Brute-Force Attacks:
Even the most complex passwords can be guessed or cracked through brute-force attacks over time. Public key cryptography, however, relies on mathematical algorithms that are computationally infeasible to break with current technology, offering significantly greater cryptographic strength.
Elimination of Human Vulnerabilities:
Passwords are prone to human errors such as weak creation (e.g., simple or reused passwords), poor storage practices (e.g., writing them down), and susceptibility to phishing attacks. Public key authentication avoids these issues since the private key is stored securely and not shared or manually entered.
Non-Repudiation and Integrity:
Public key systems can provide digital signatures, ensuring that messages or transactions are authenticated and cannot be repudiated by the sender. This is not possible with password-based systems, which often require shared secrets that can be compromised.
No Need for Centralized Trust:
Password-based systems often rely on centralized databases to store user credentials, which can be targeted in data breaches. Public key systems avoid this risk because the private keys remain solely with the users, and only the public keys are stored on servers.
Automated and Scalable Authentication:
Public key authentication supports automated, passwordless login processes, which are crucial for secure automation in enterprise environments. It also scales better for large systems since no password management is required.
Public key cryptography is significantly more secure than a username/password, which is why it is the basis of secure login and access mechanisms like facial or fingerprint recognition. When you use these biometric identification methods on your computer or phone, they are leveraging public key cryptography to authenticate you over the network after confirming it is indeed you when scanning your face or finger.
Demo
The purpose of the demo is to show how users can gain secure access to a website from multiple devices (e.g., your computer and your smartphone) using the built in public key cryptography in their web browser. We also demonstrate the ability to reset access by email if you lose your keys (i.e., lose your computer or phone, or completely reset your web browser).
Public service announcement: the email reset feature is a potential account security hole (what happens when your email account is hacked? 🤔), so it is disabled by default. We recommend having several devices linked to the account so you always have a way back in rather than relying on an email reset. You’ve been warned!
You are welcome to try out the demo yourself by following the sequence of screenshots below on your computer and smartphone browsers at: https://did-auth.ic3.dev
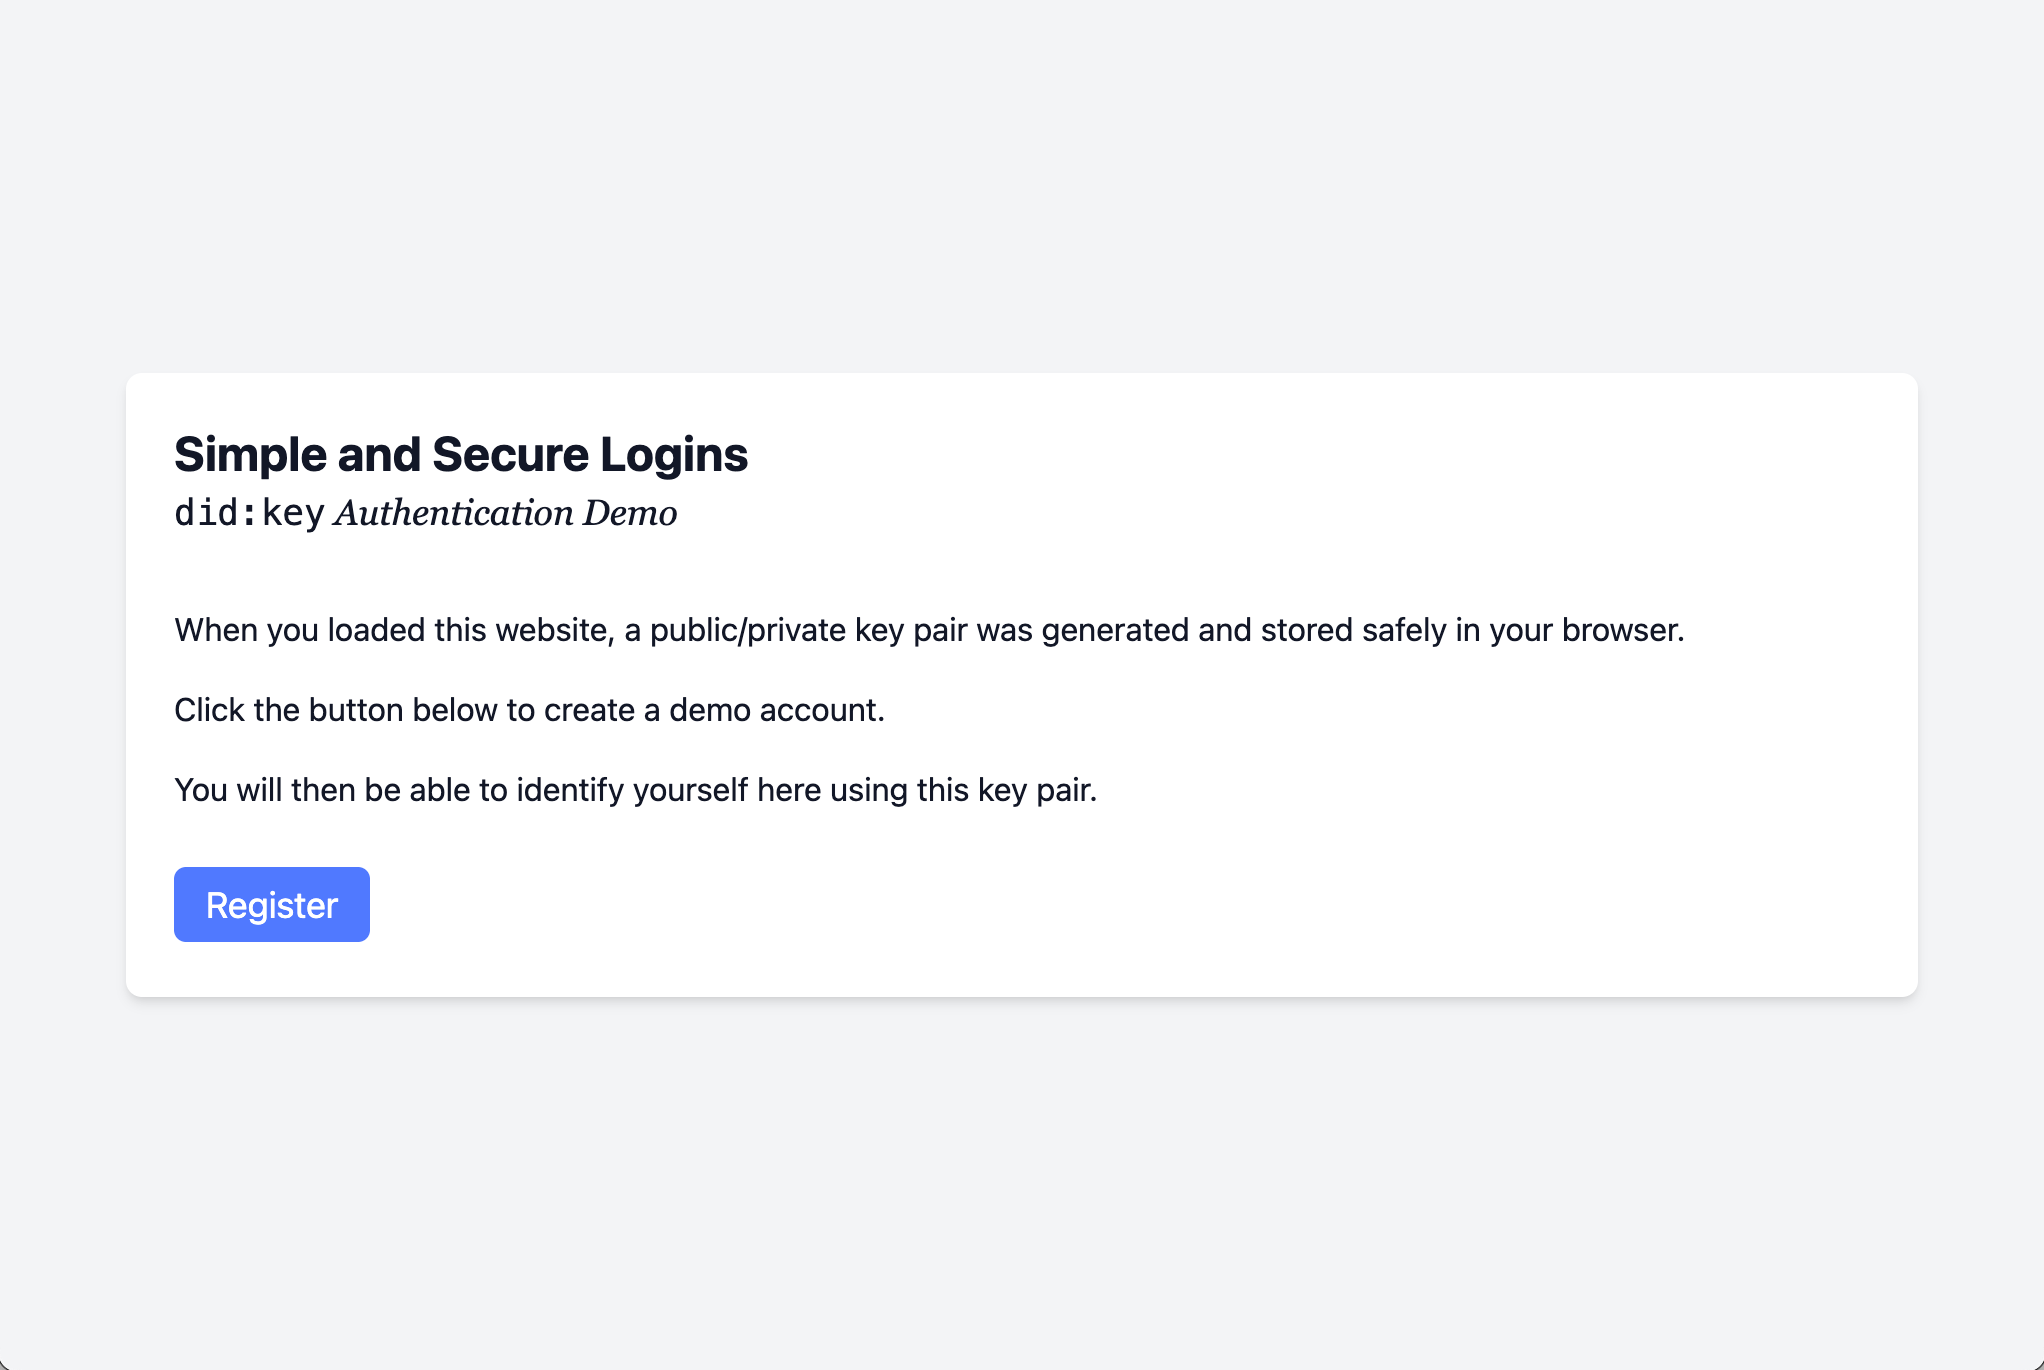
1. The landing page
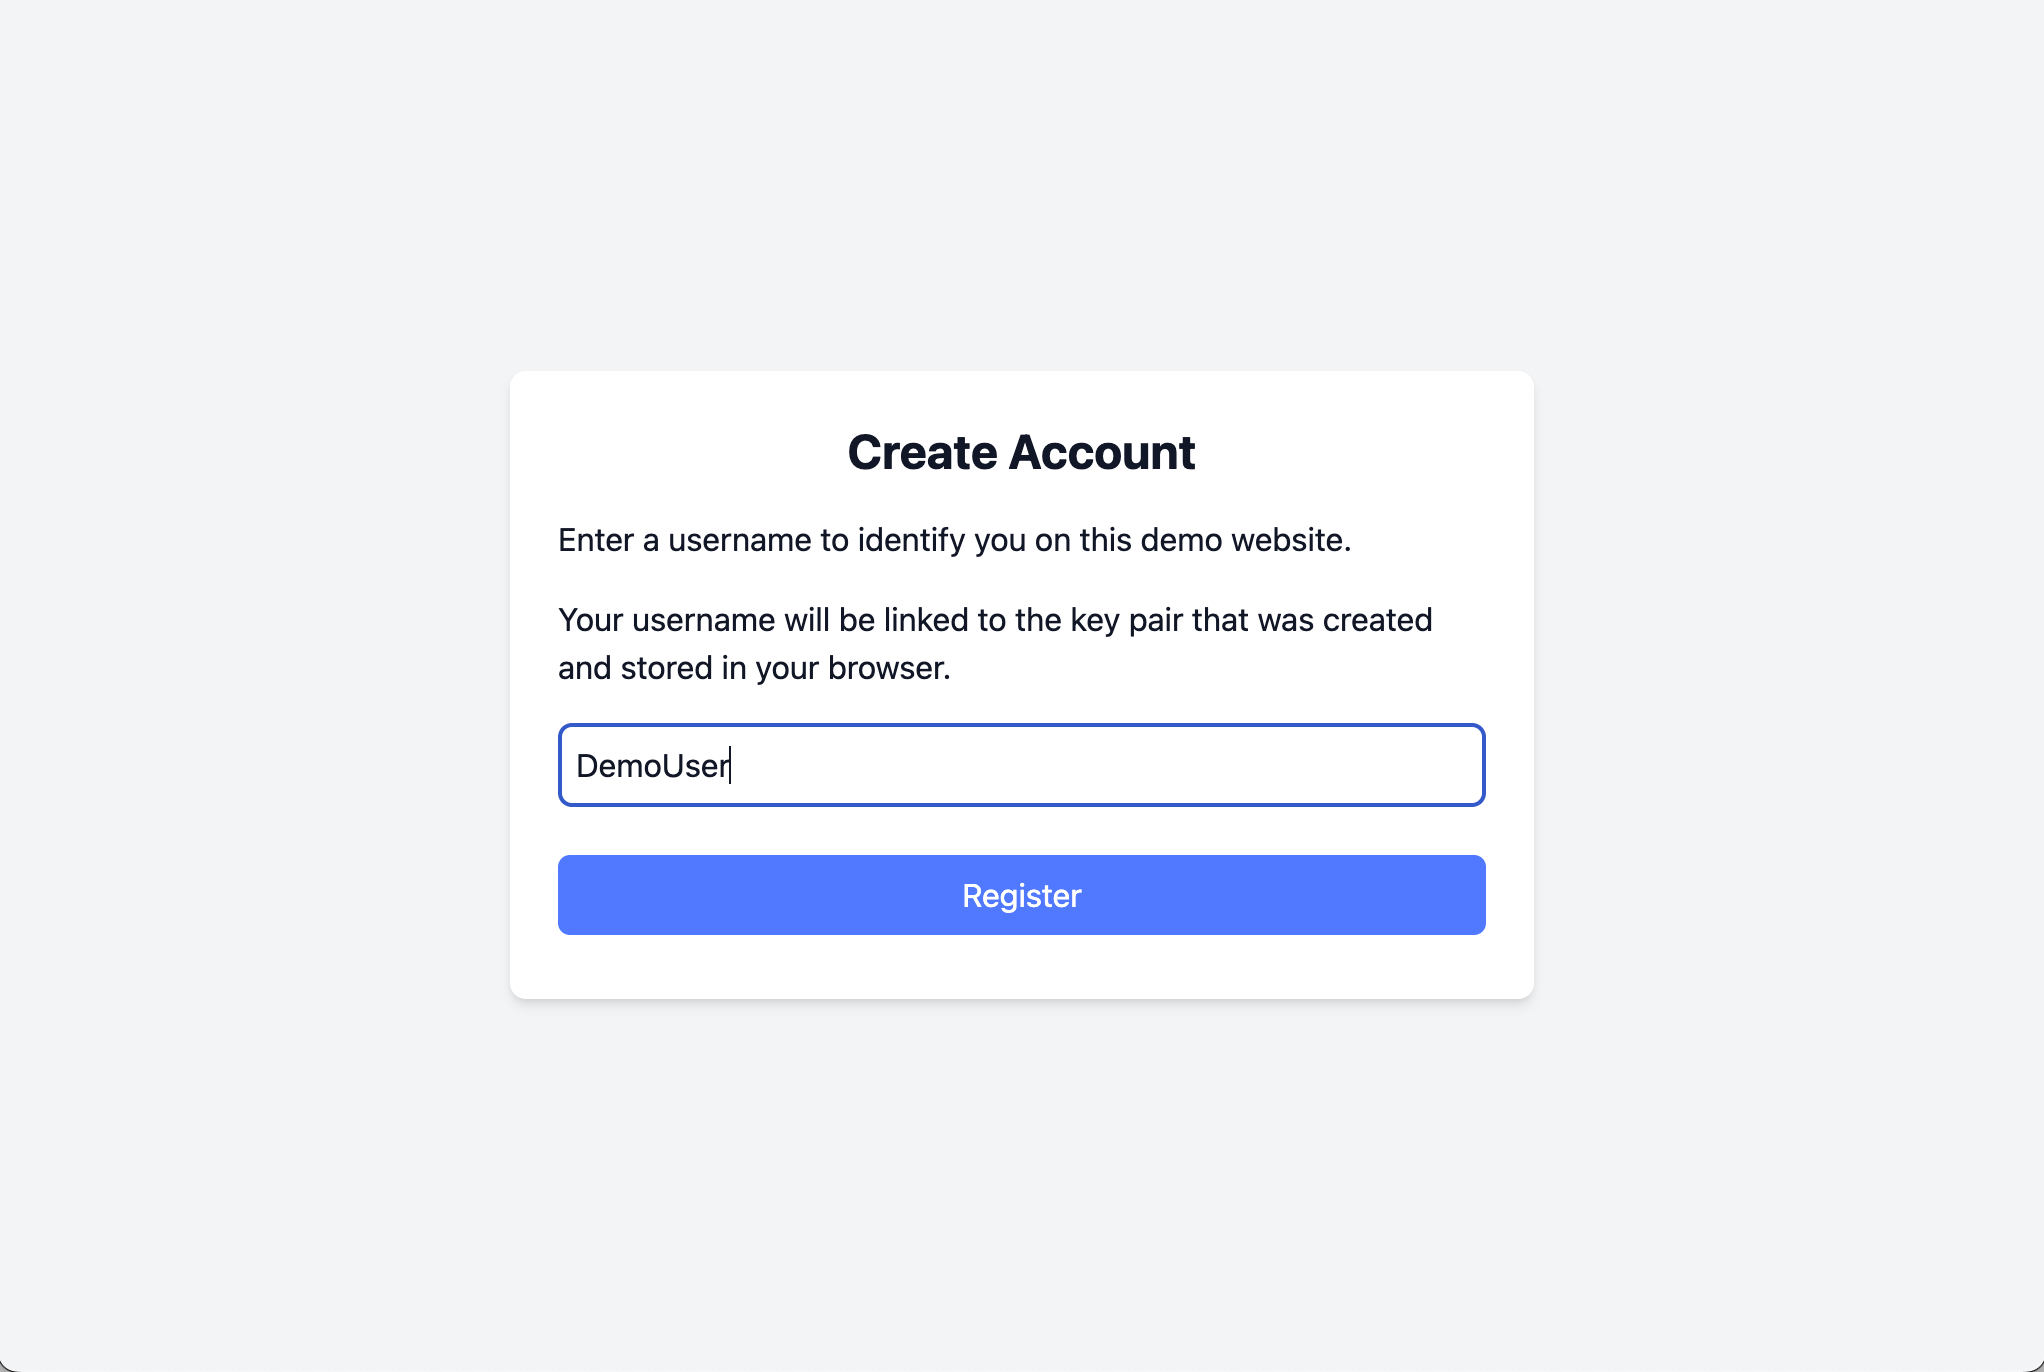
2. Entering a username
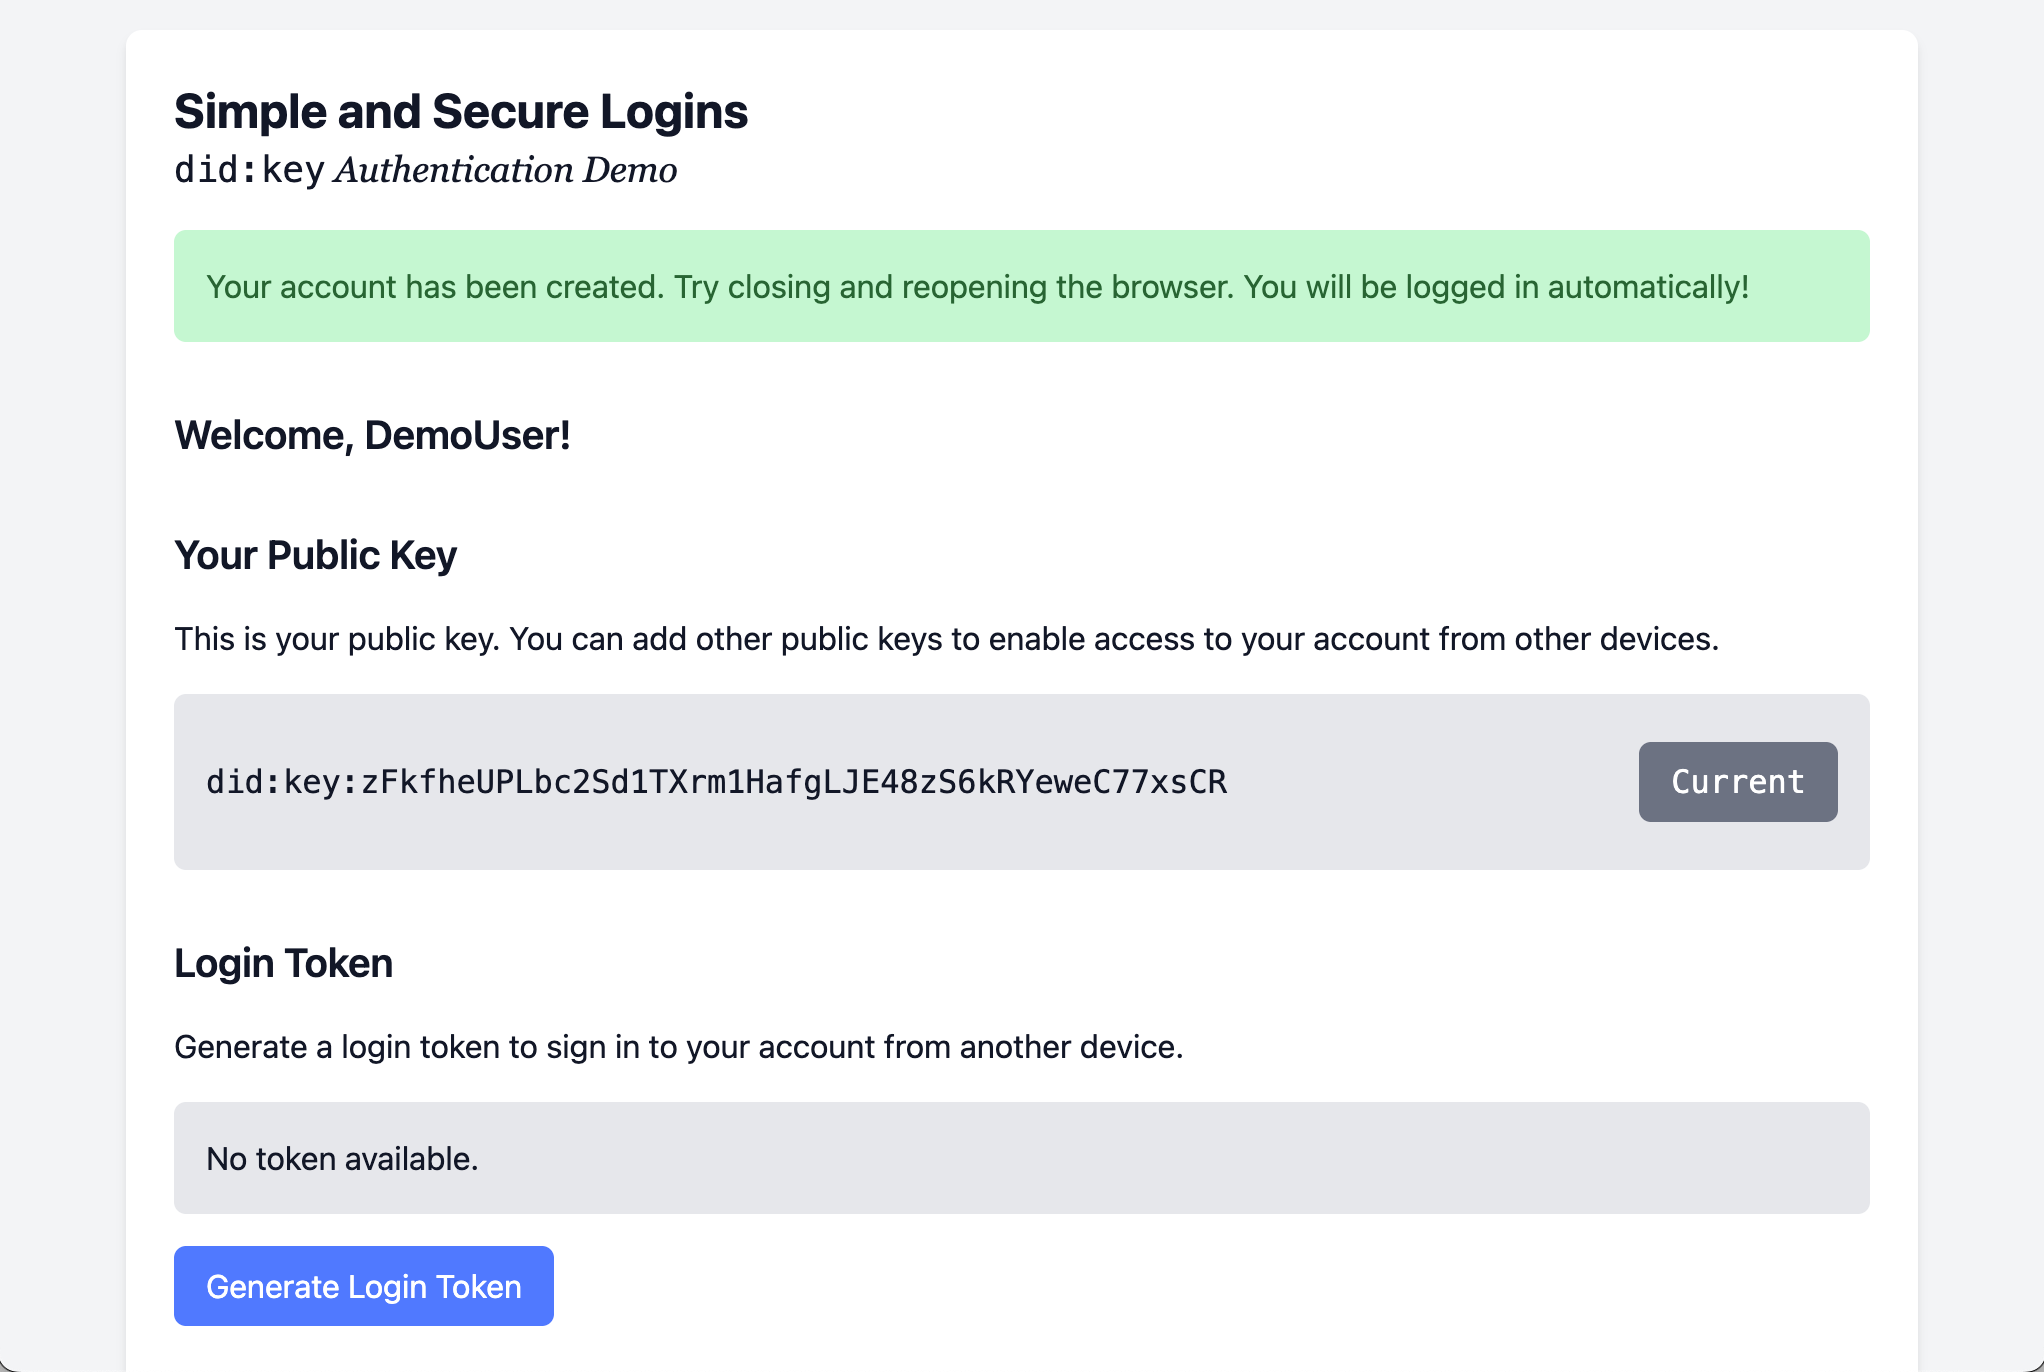
3. Account created
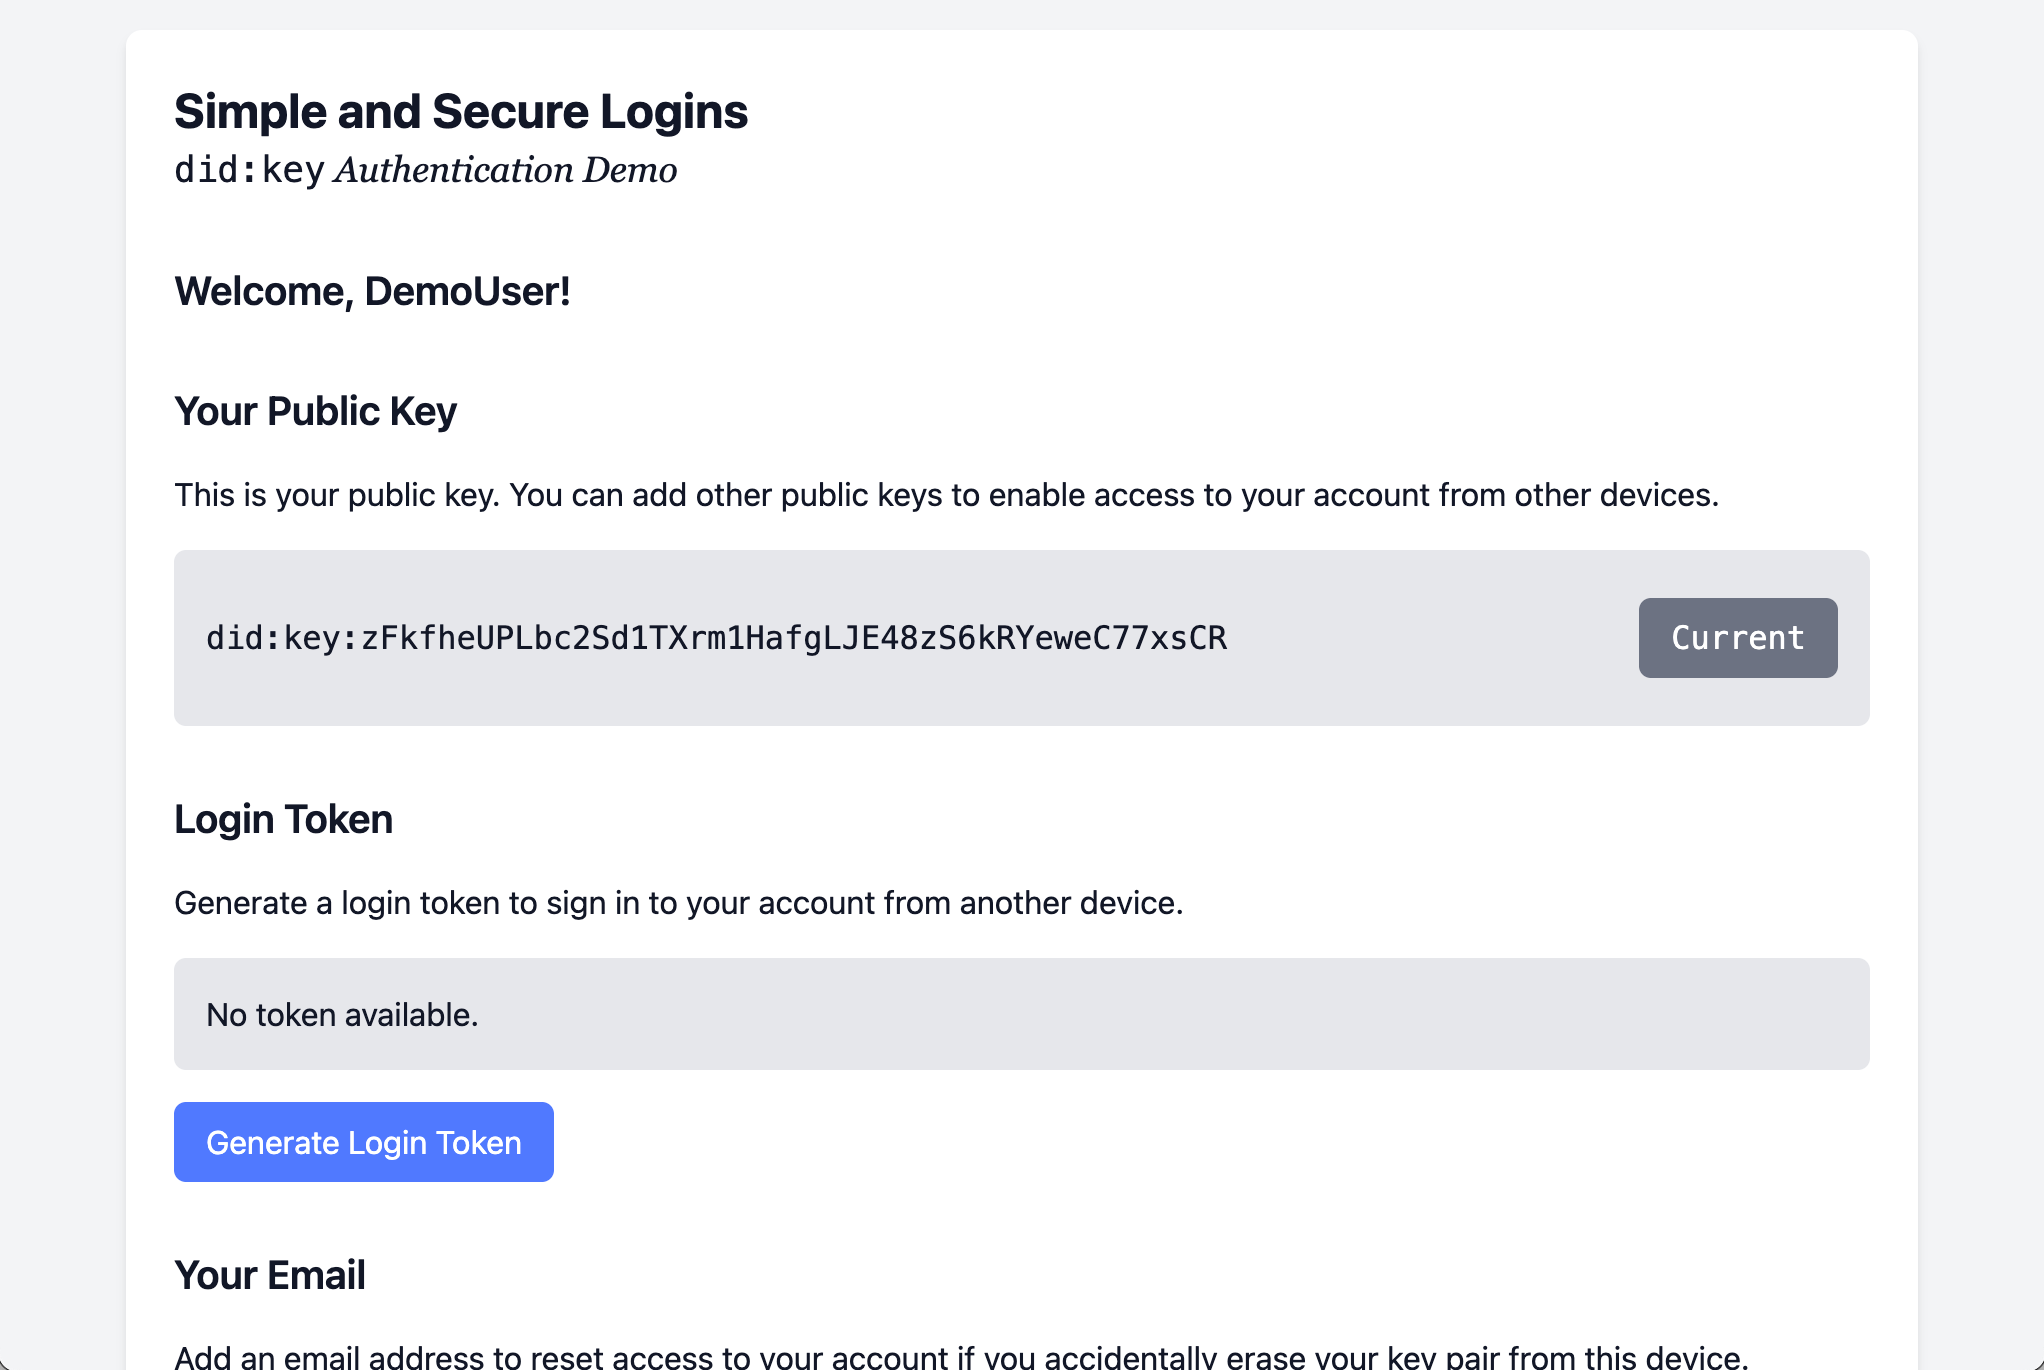
4. Try logging in again
Shut down the browser and go back to the website. You’re automatically logged in! Each request to the website is signed with your private key which makes it possible to identify you and show you your account details (in this case, your name is displayed next to the Welcome message).
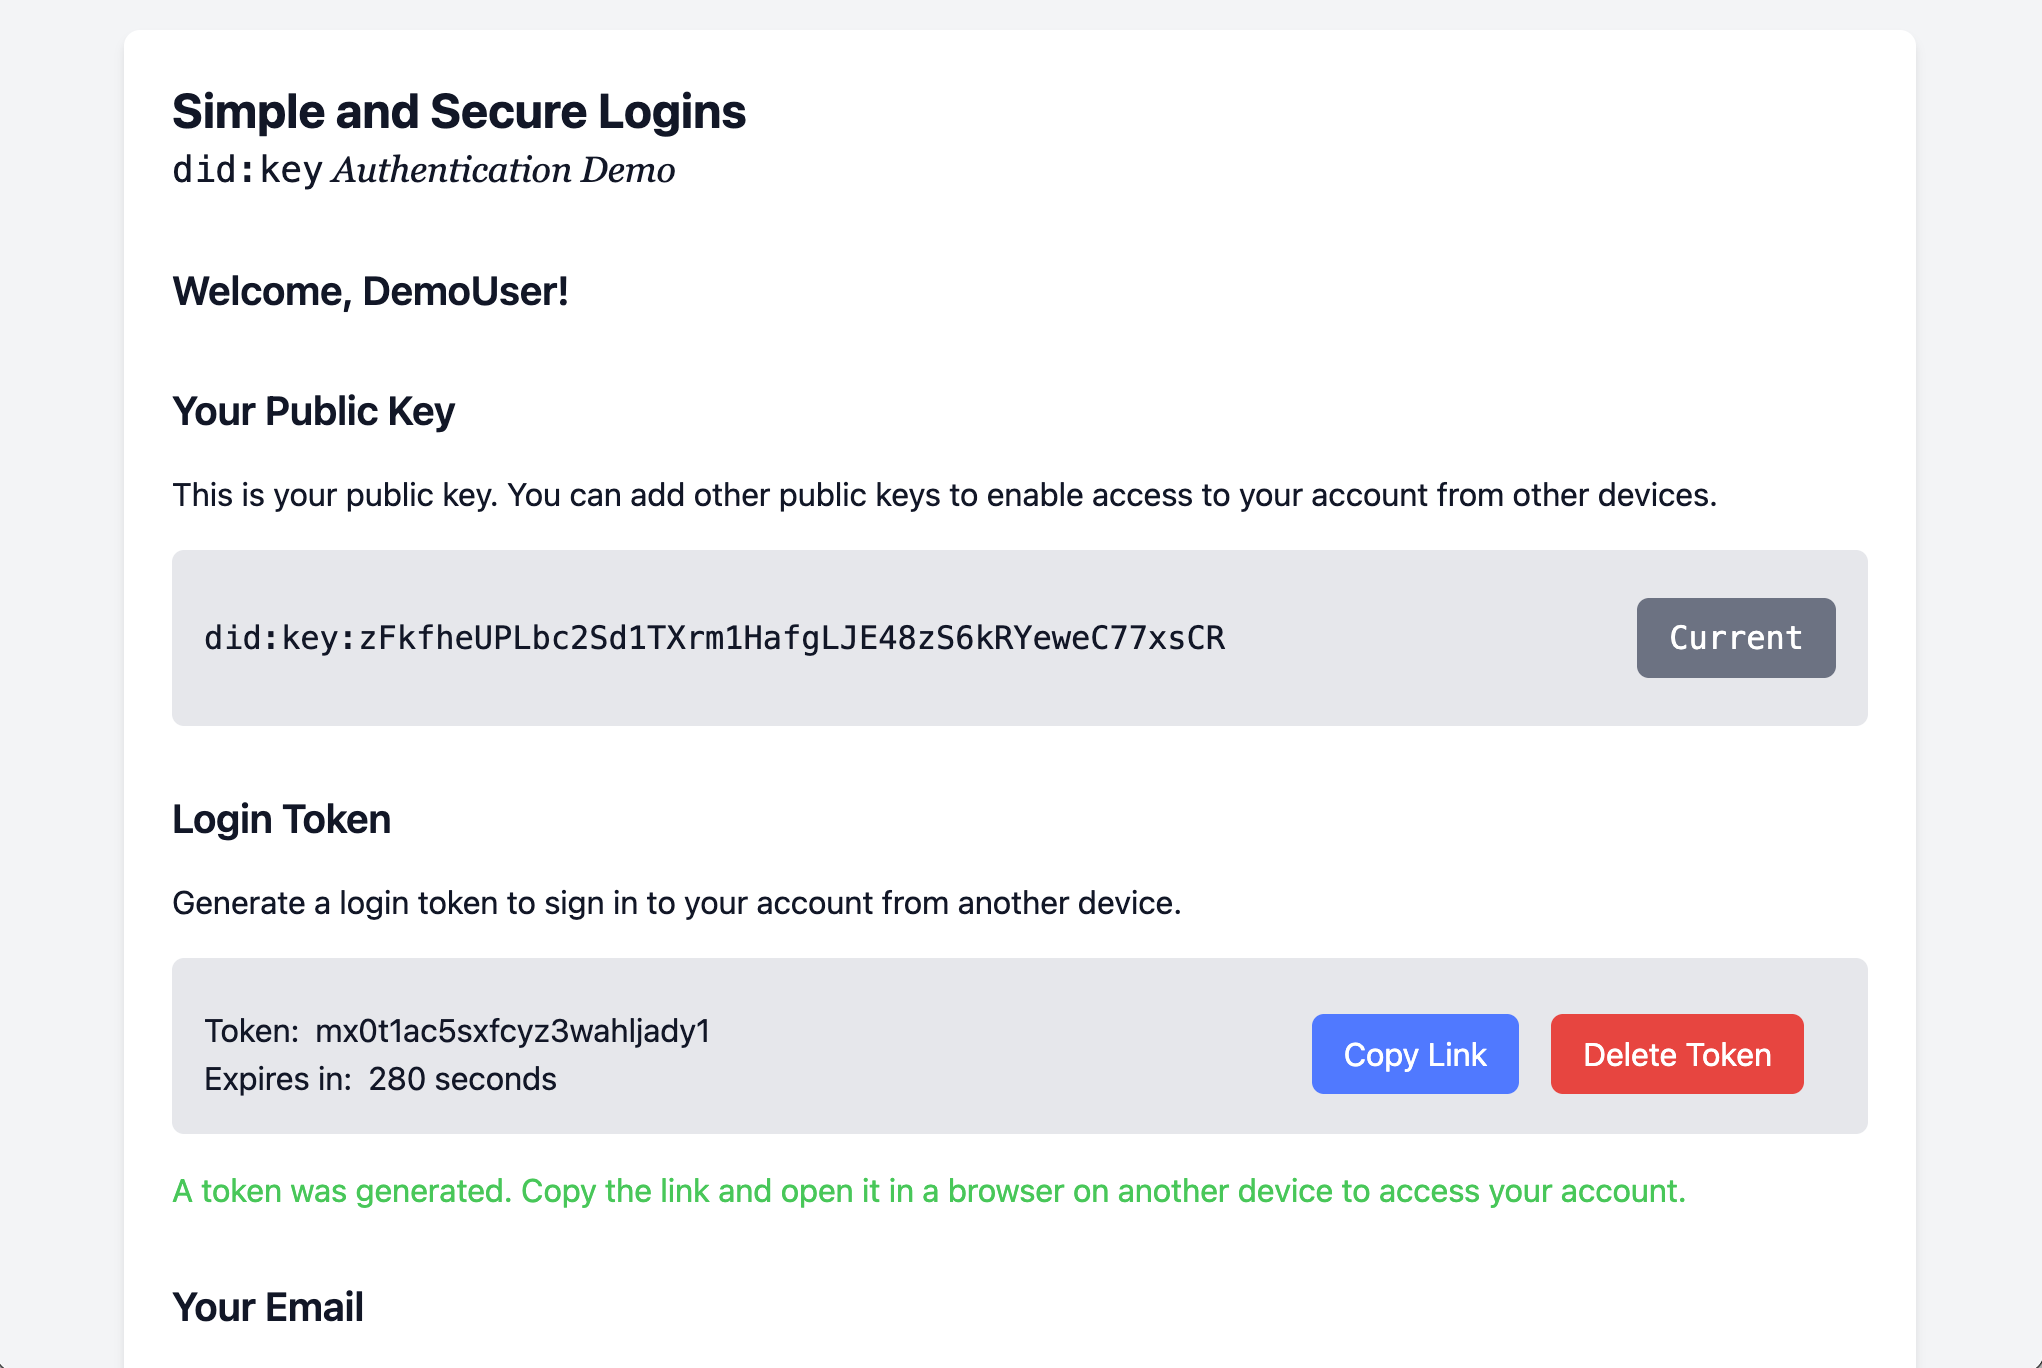
5. Generate a Login Token
You can link another device to your account by generating a Login Token and opening the generated link on another one of your devices (e.g., your smartphone). Just click the Copy Link button and then open the link in a web browser on your second device.
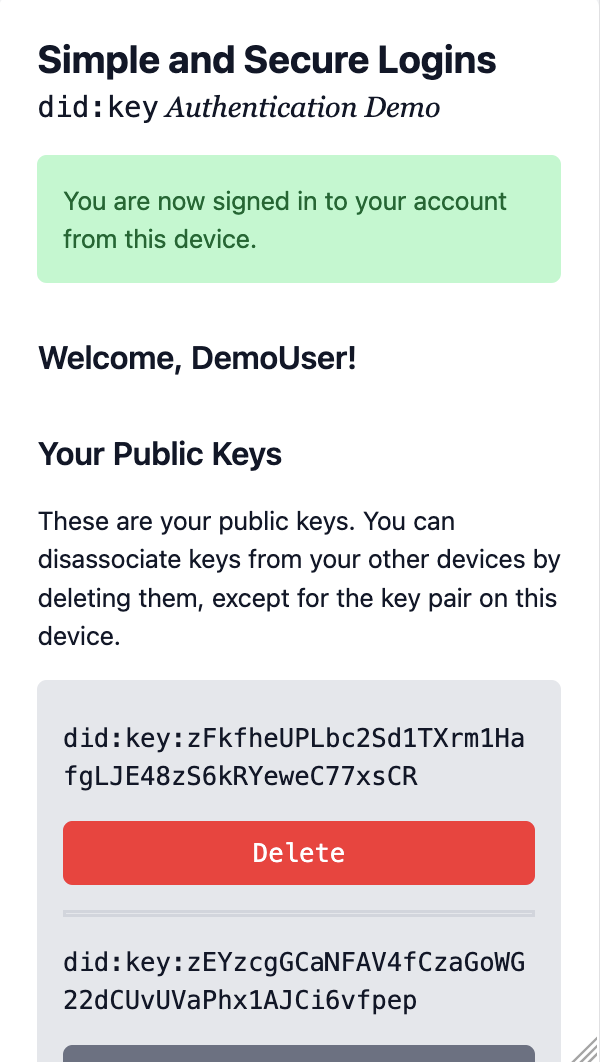
6. Device linked
As soon as you open the link in the browser on your second device, you are immediately logged in. Another public/private key pair was generated there and associated to your account.
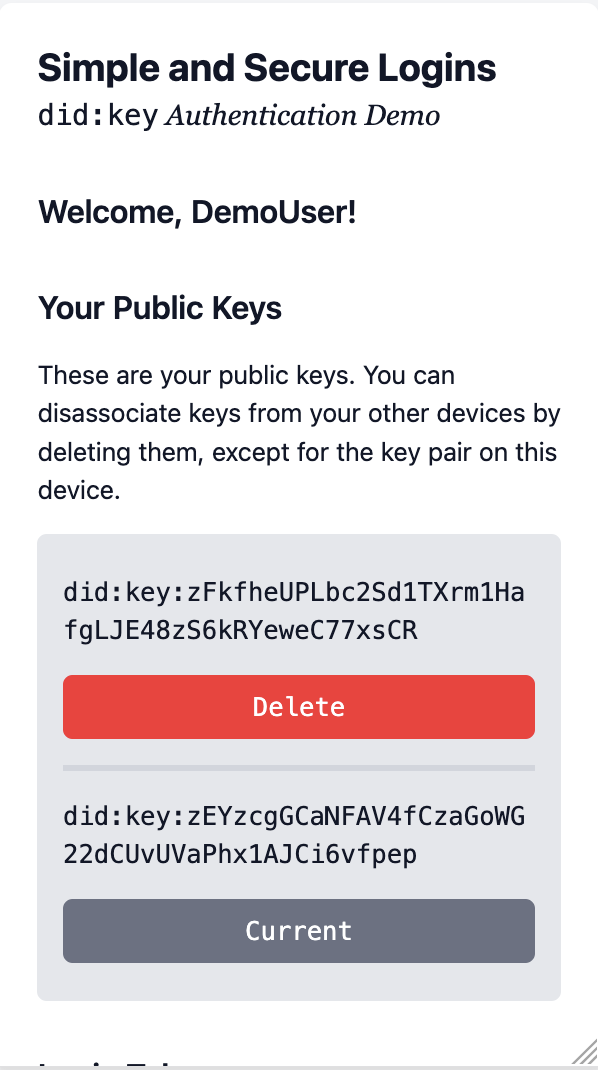
7. Trying logging in again (Again!)
Shut down the browser and go back to the website. You’re automatically logged in again, just like in step 4 above. The private key in your phone’s web browser identifies you when you go back to the site.
You now have two public/private key pairs associated to your account.
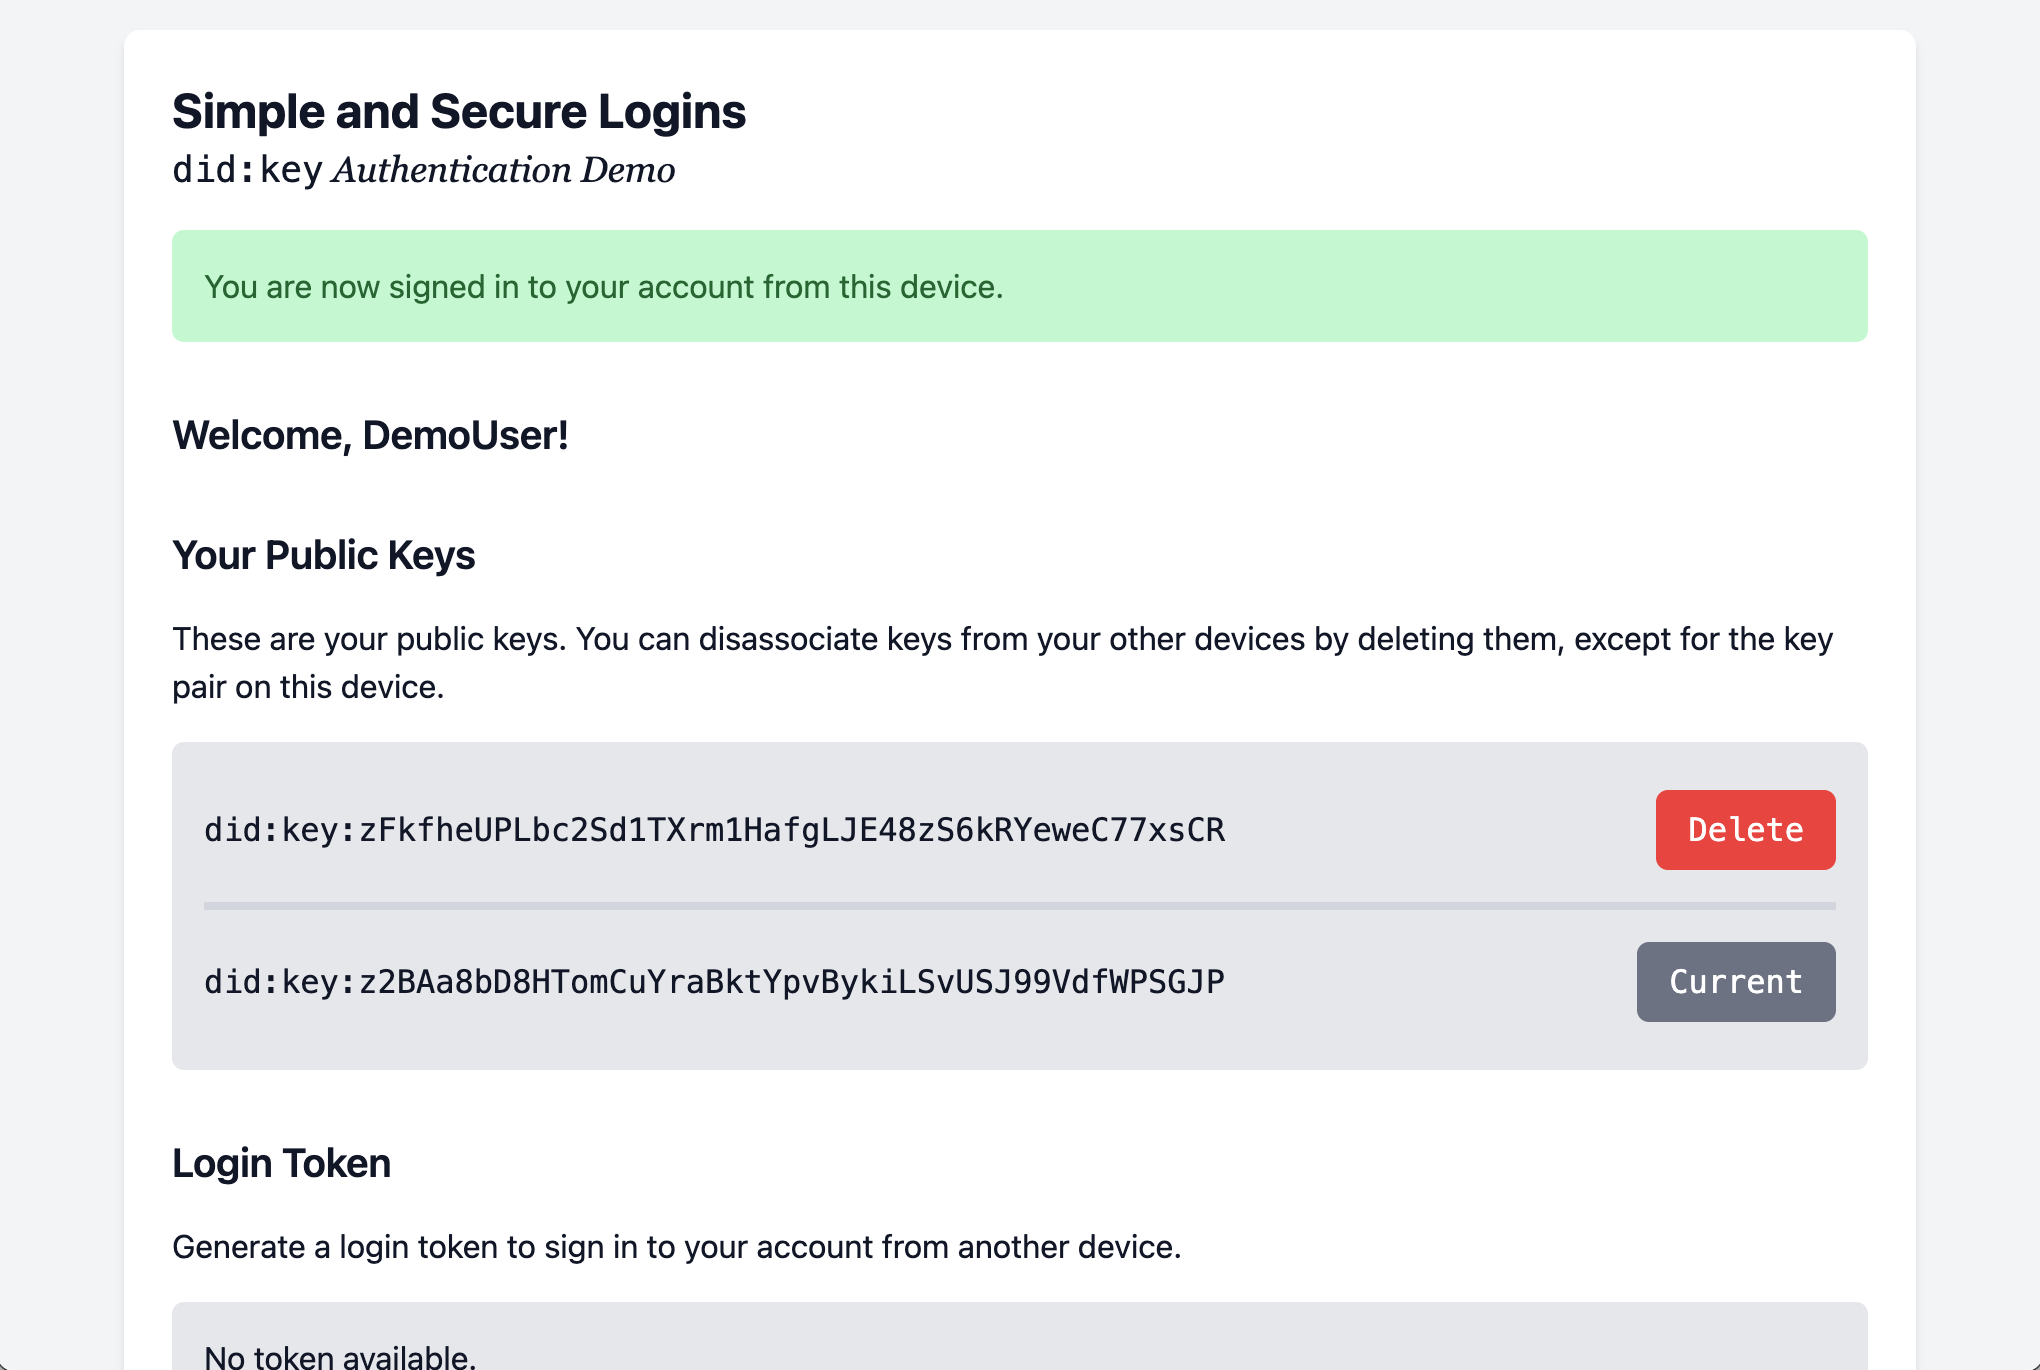
8. Two keys in your account
You can now see the second public key from your phone when you refresh the page on your computer.
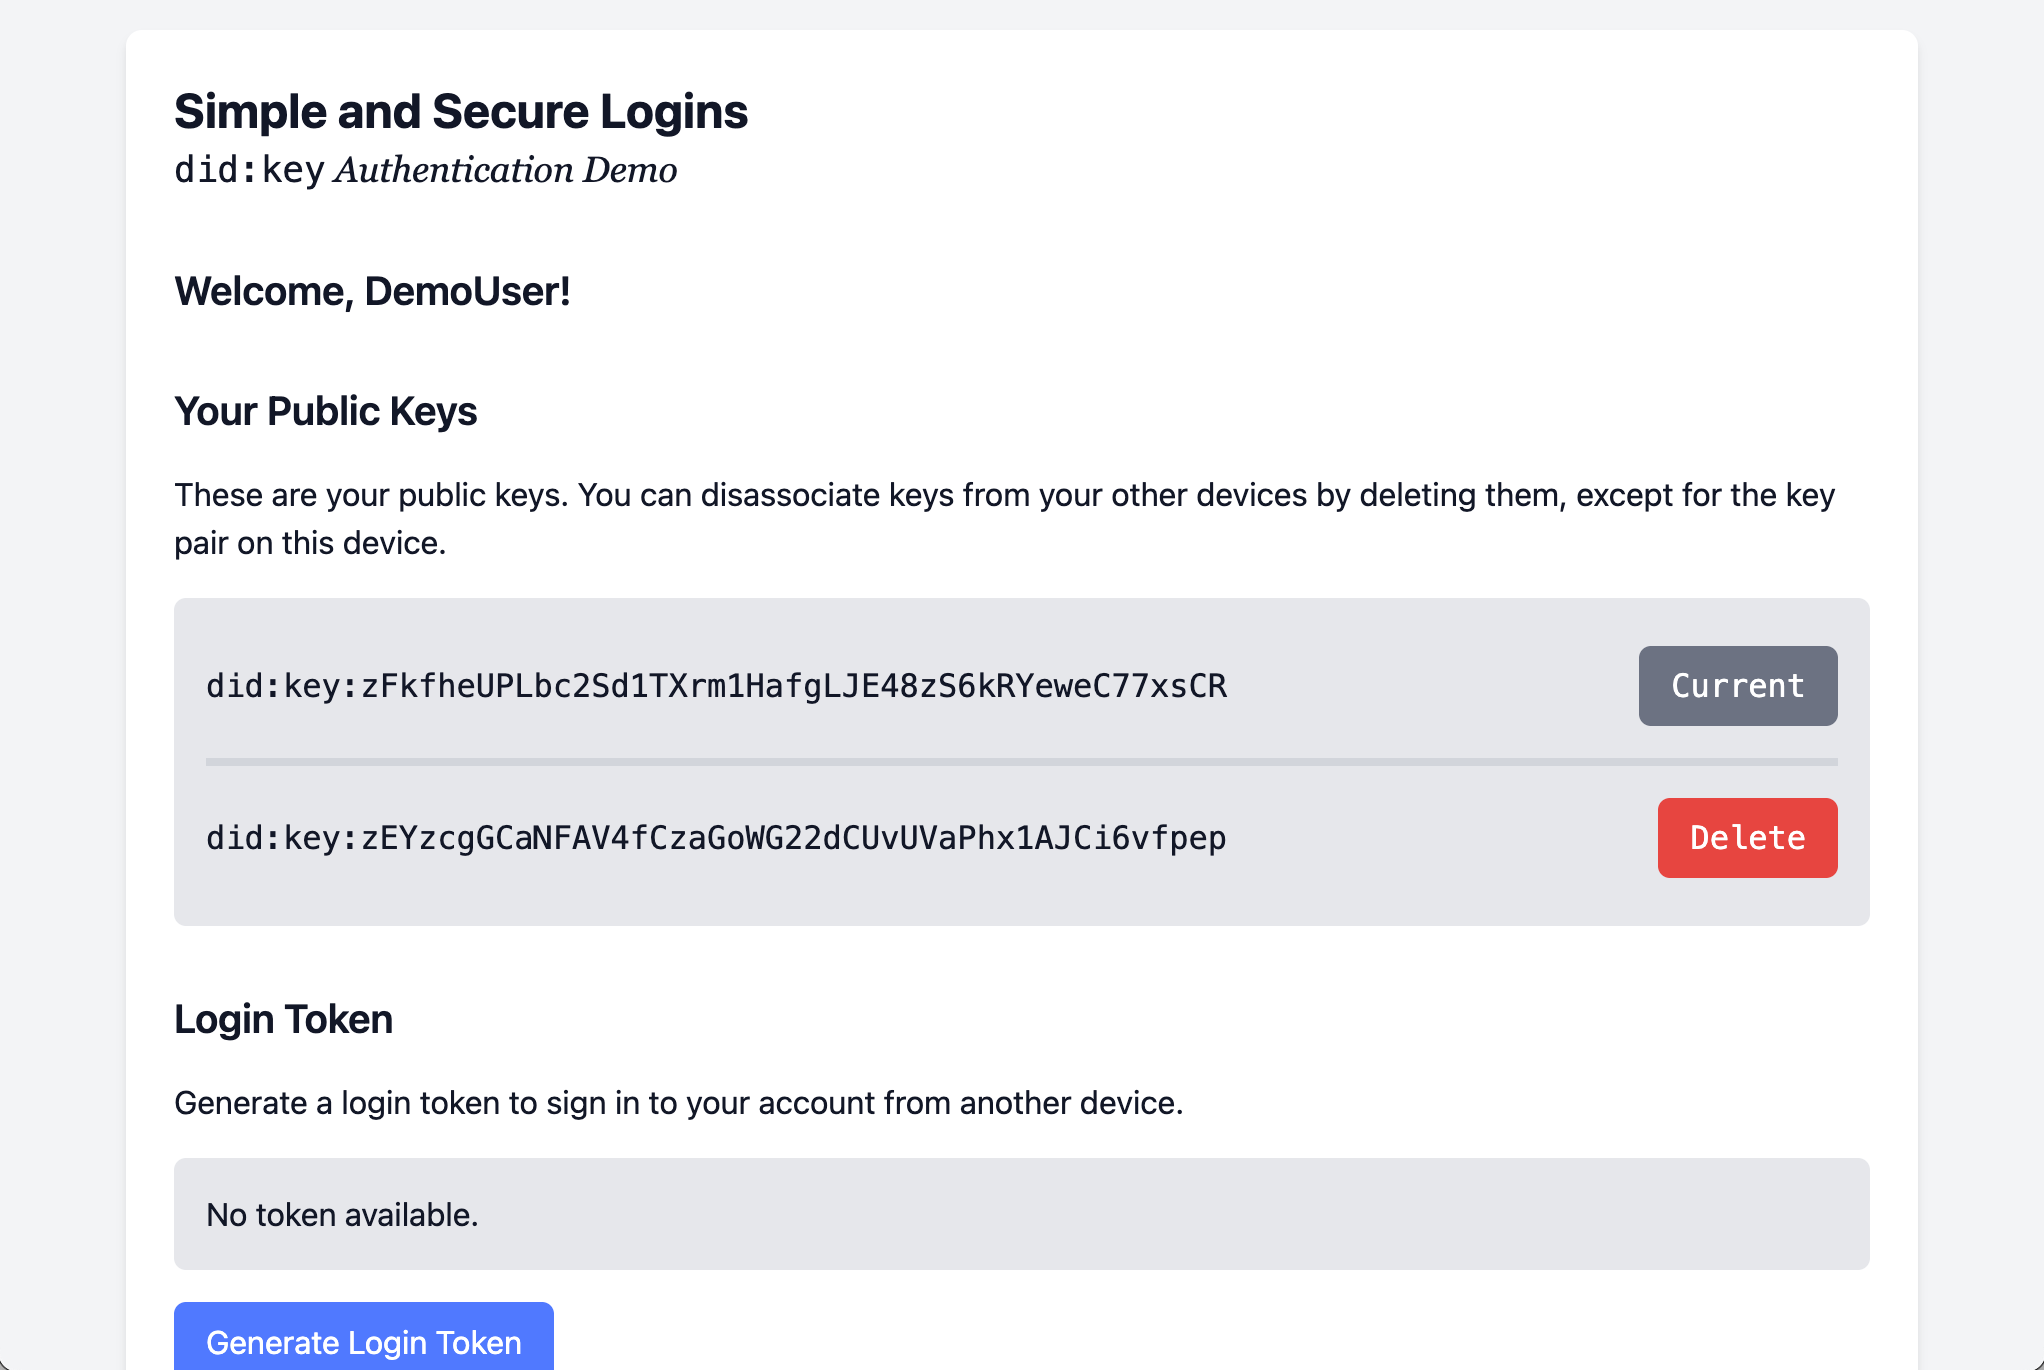
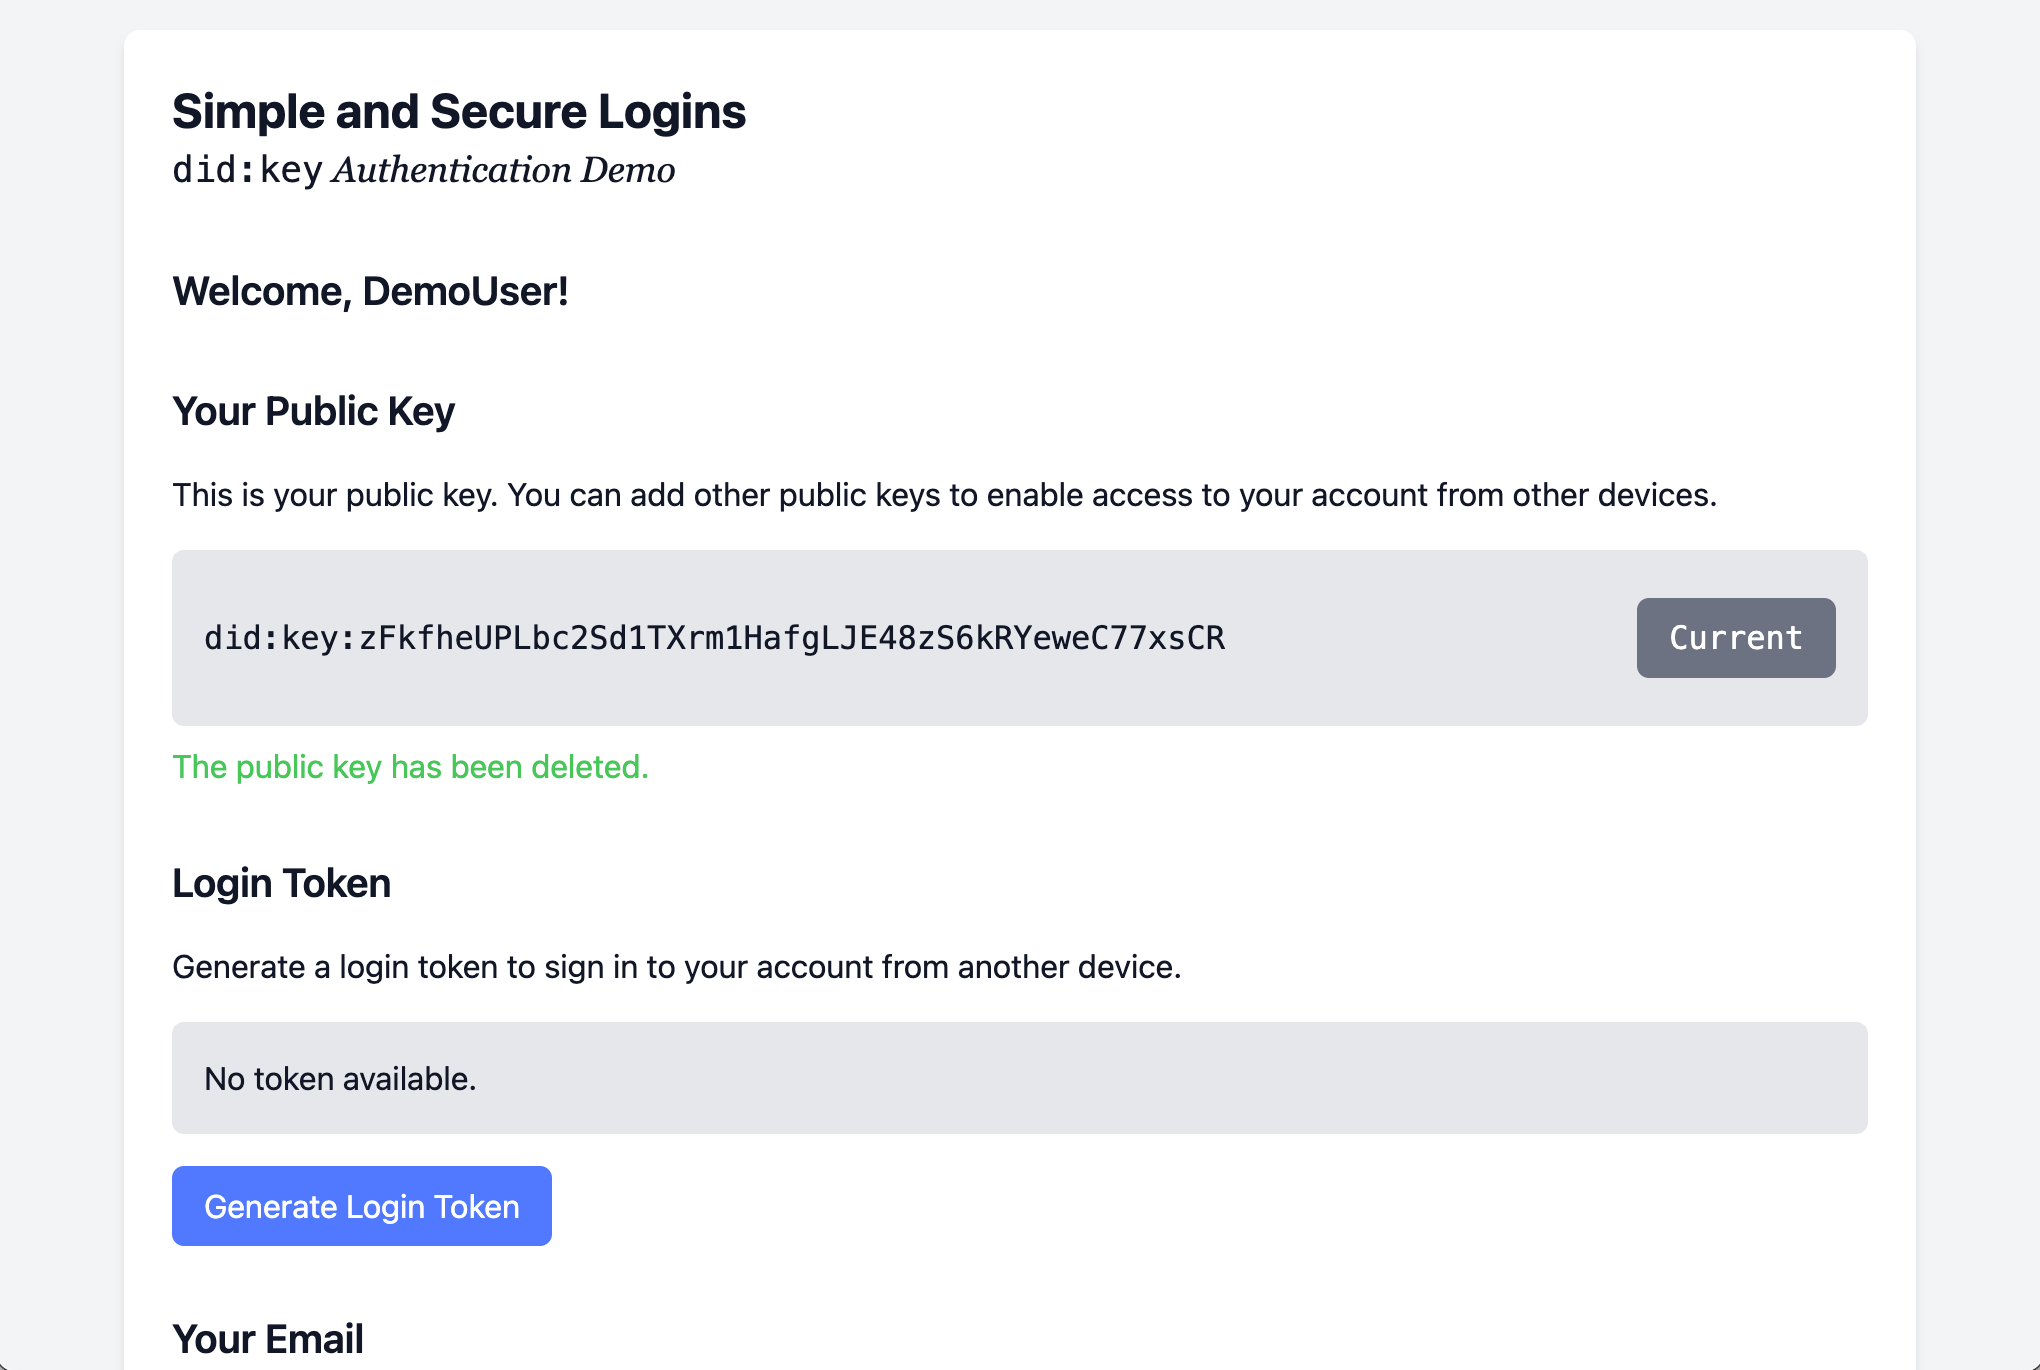
9. Deleting a device/key
Imagine you lose your phone and don’t want anyone to get access to your account. Just delete the public key for the phone from the list and access is no longer possible from it.
Notice how you can only delete keys for other devices, but not the one you are currently using to access your account.
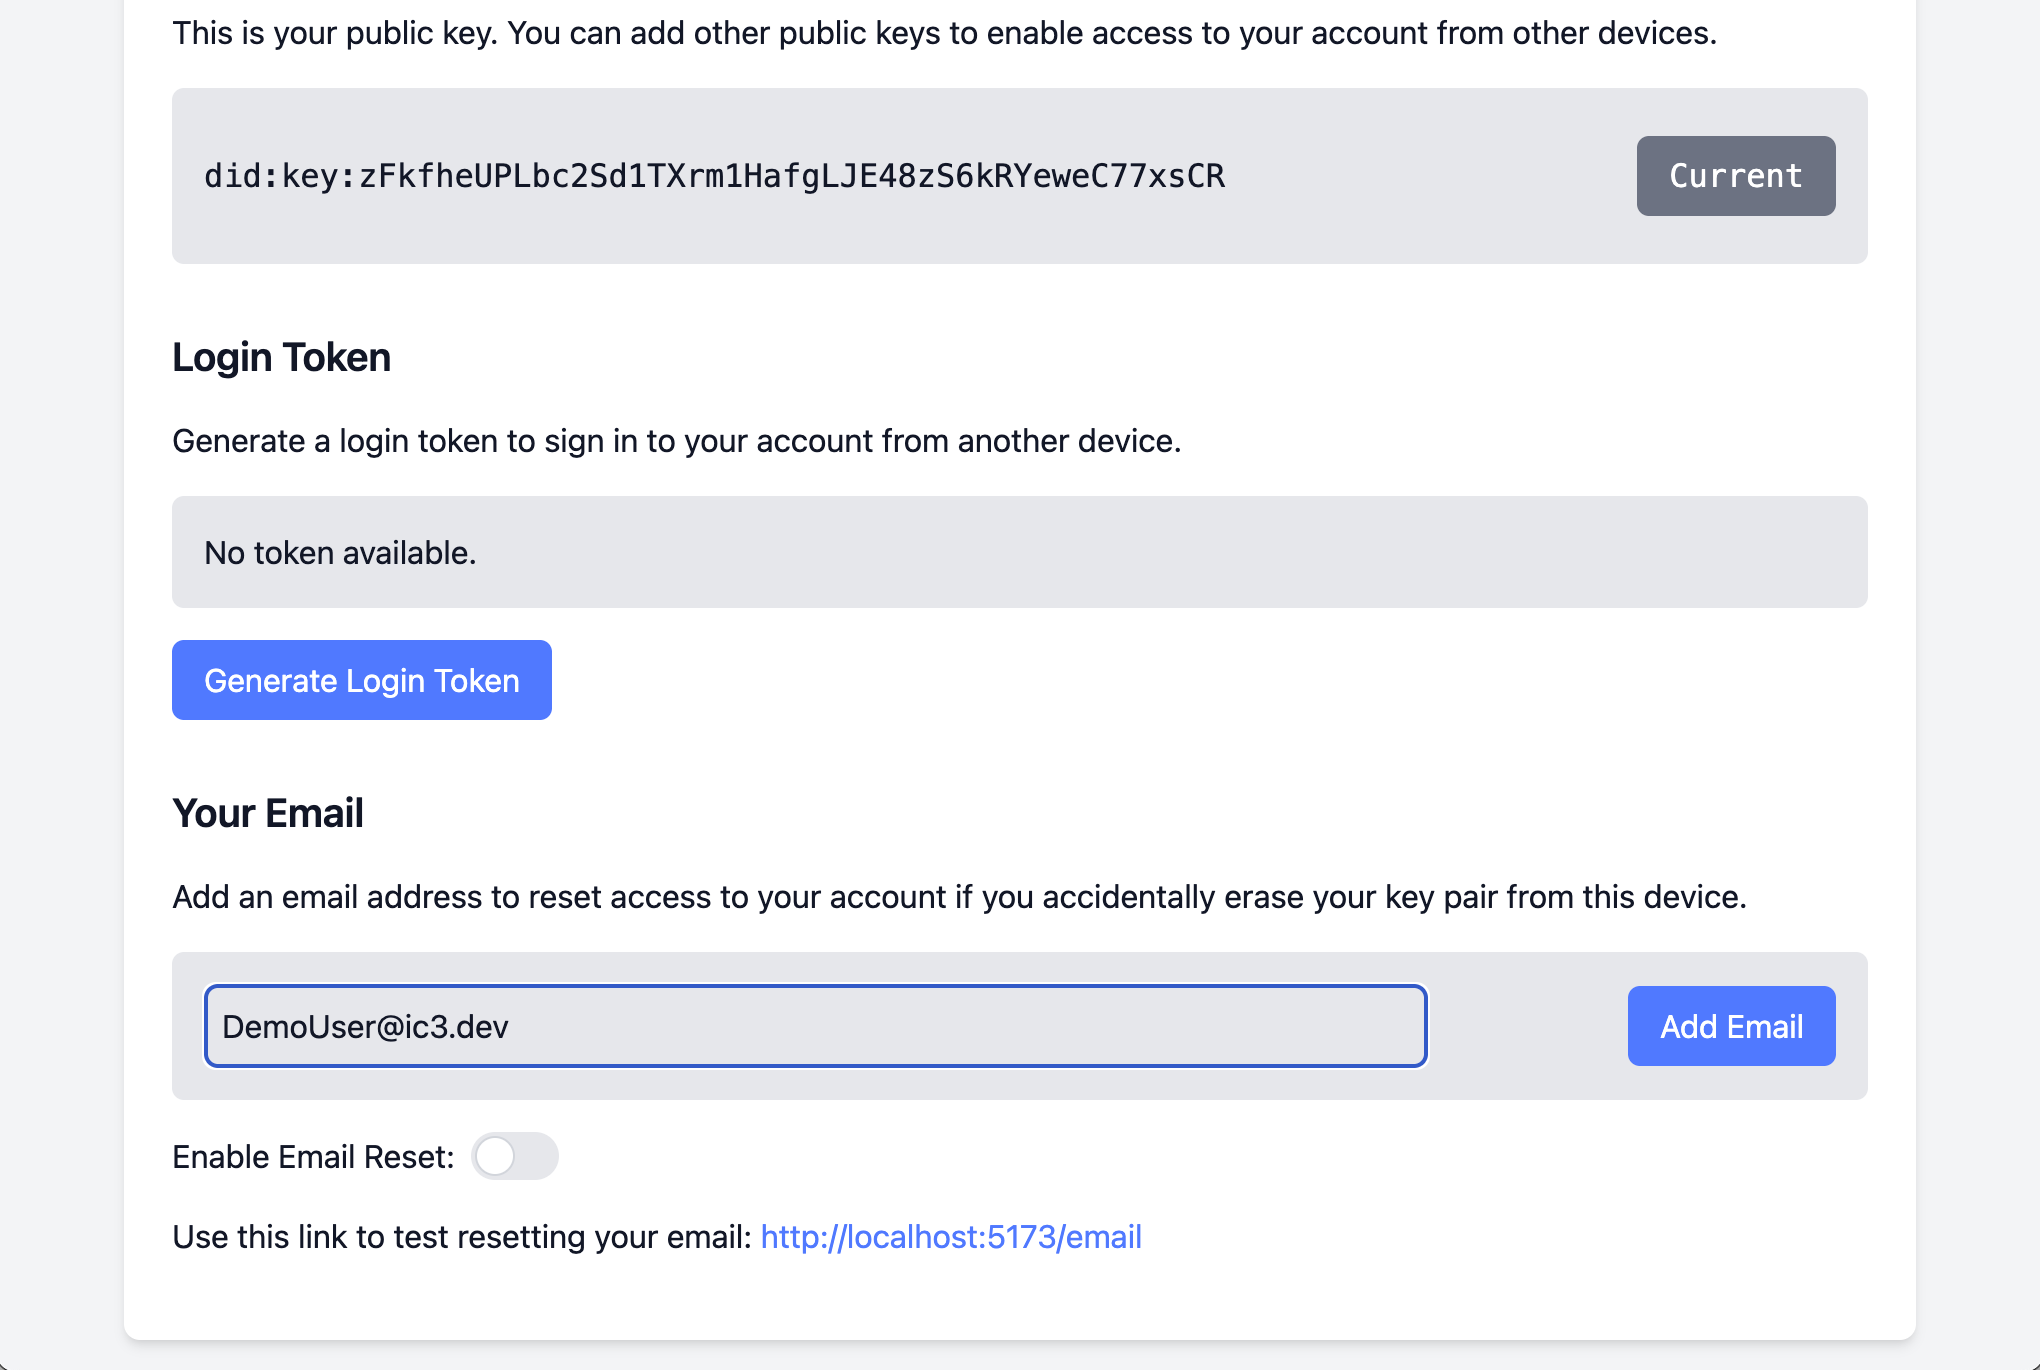
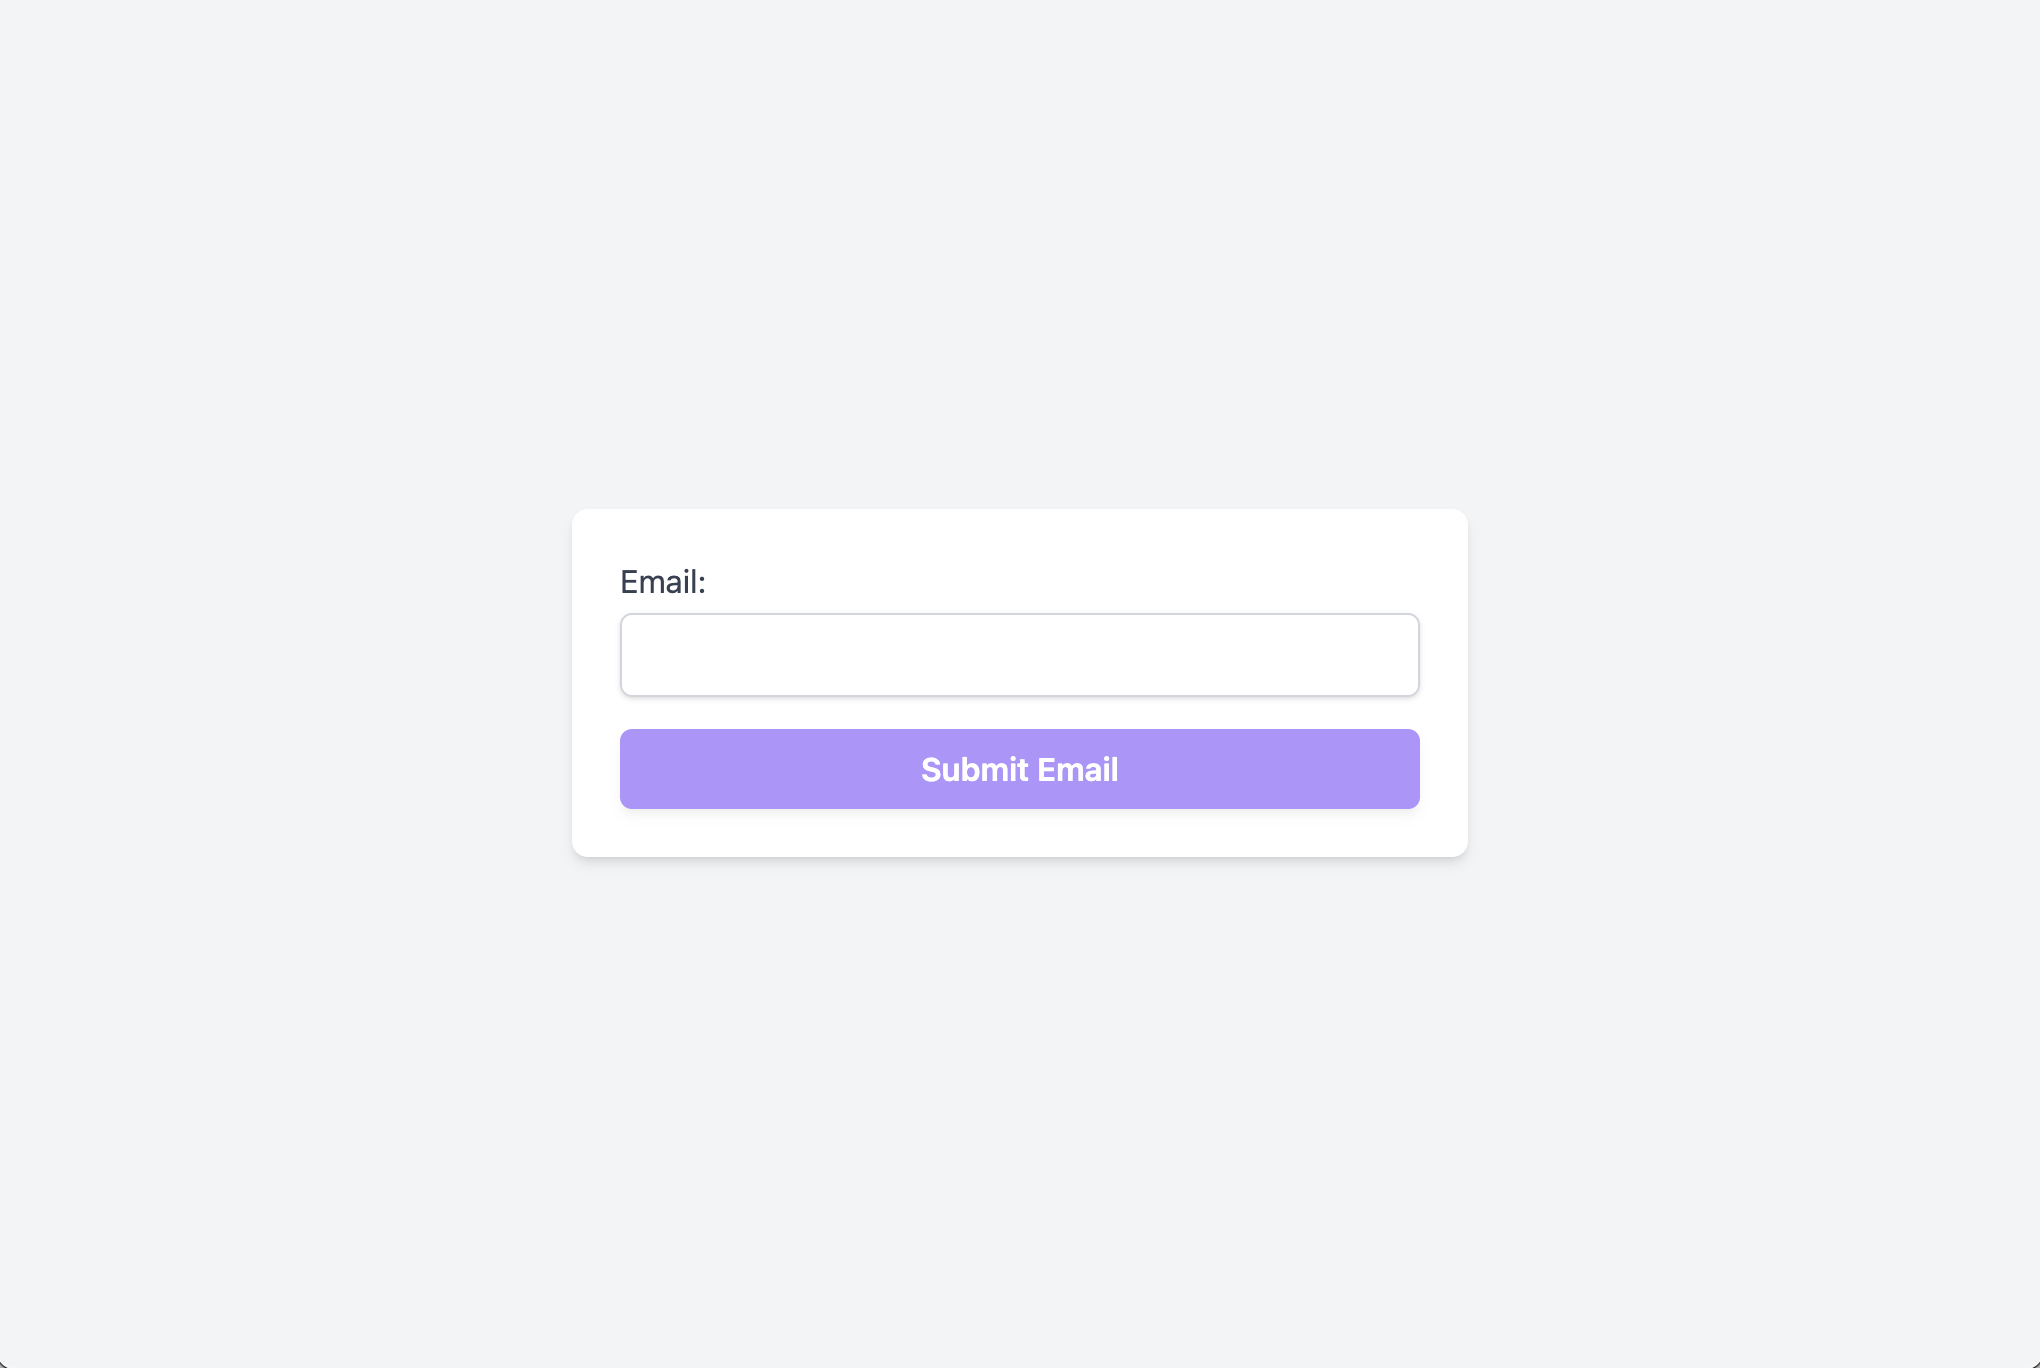
10. Enter email address
Scroll down the page to enter your email address. You can use it to get access to your account if you ever lose your device or accidentally delete the key pair from your web browser.
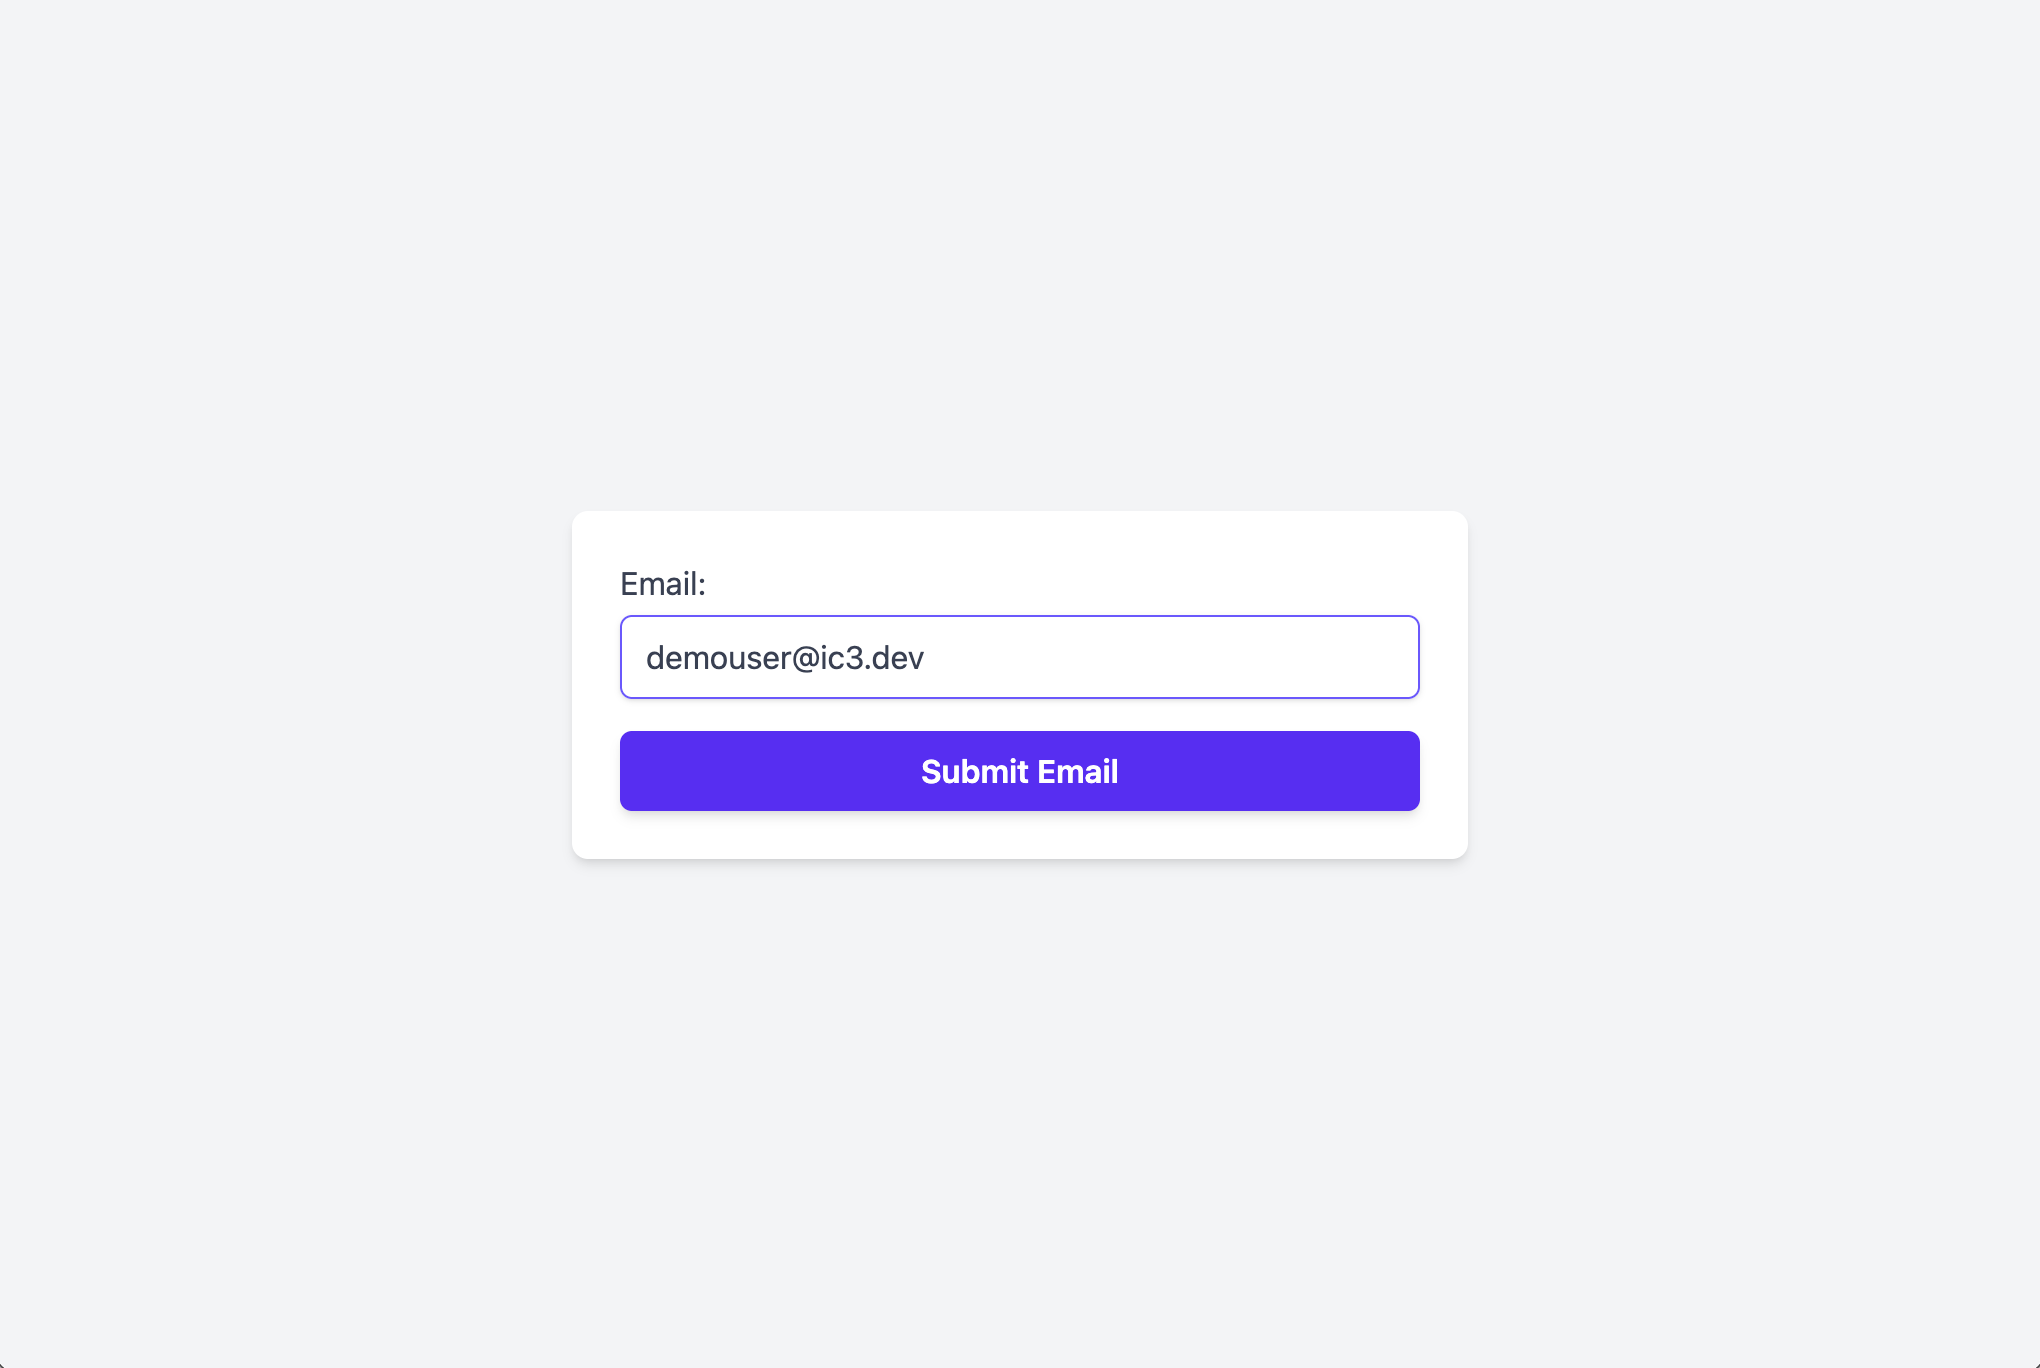
11. Email entered
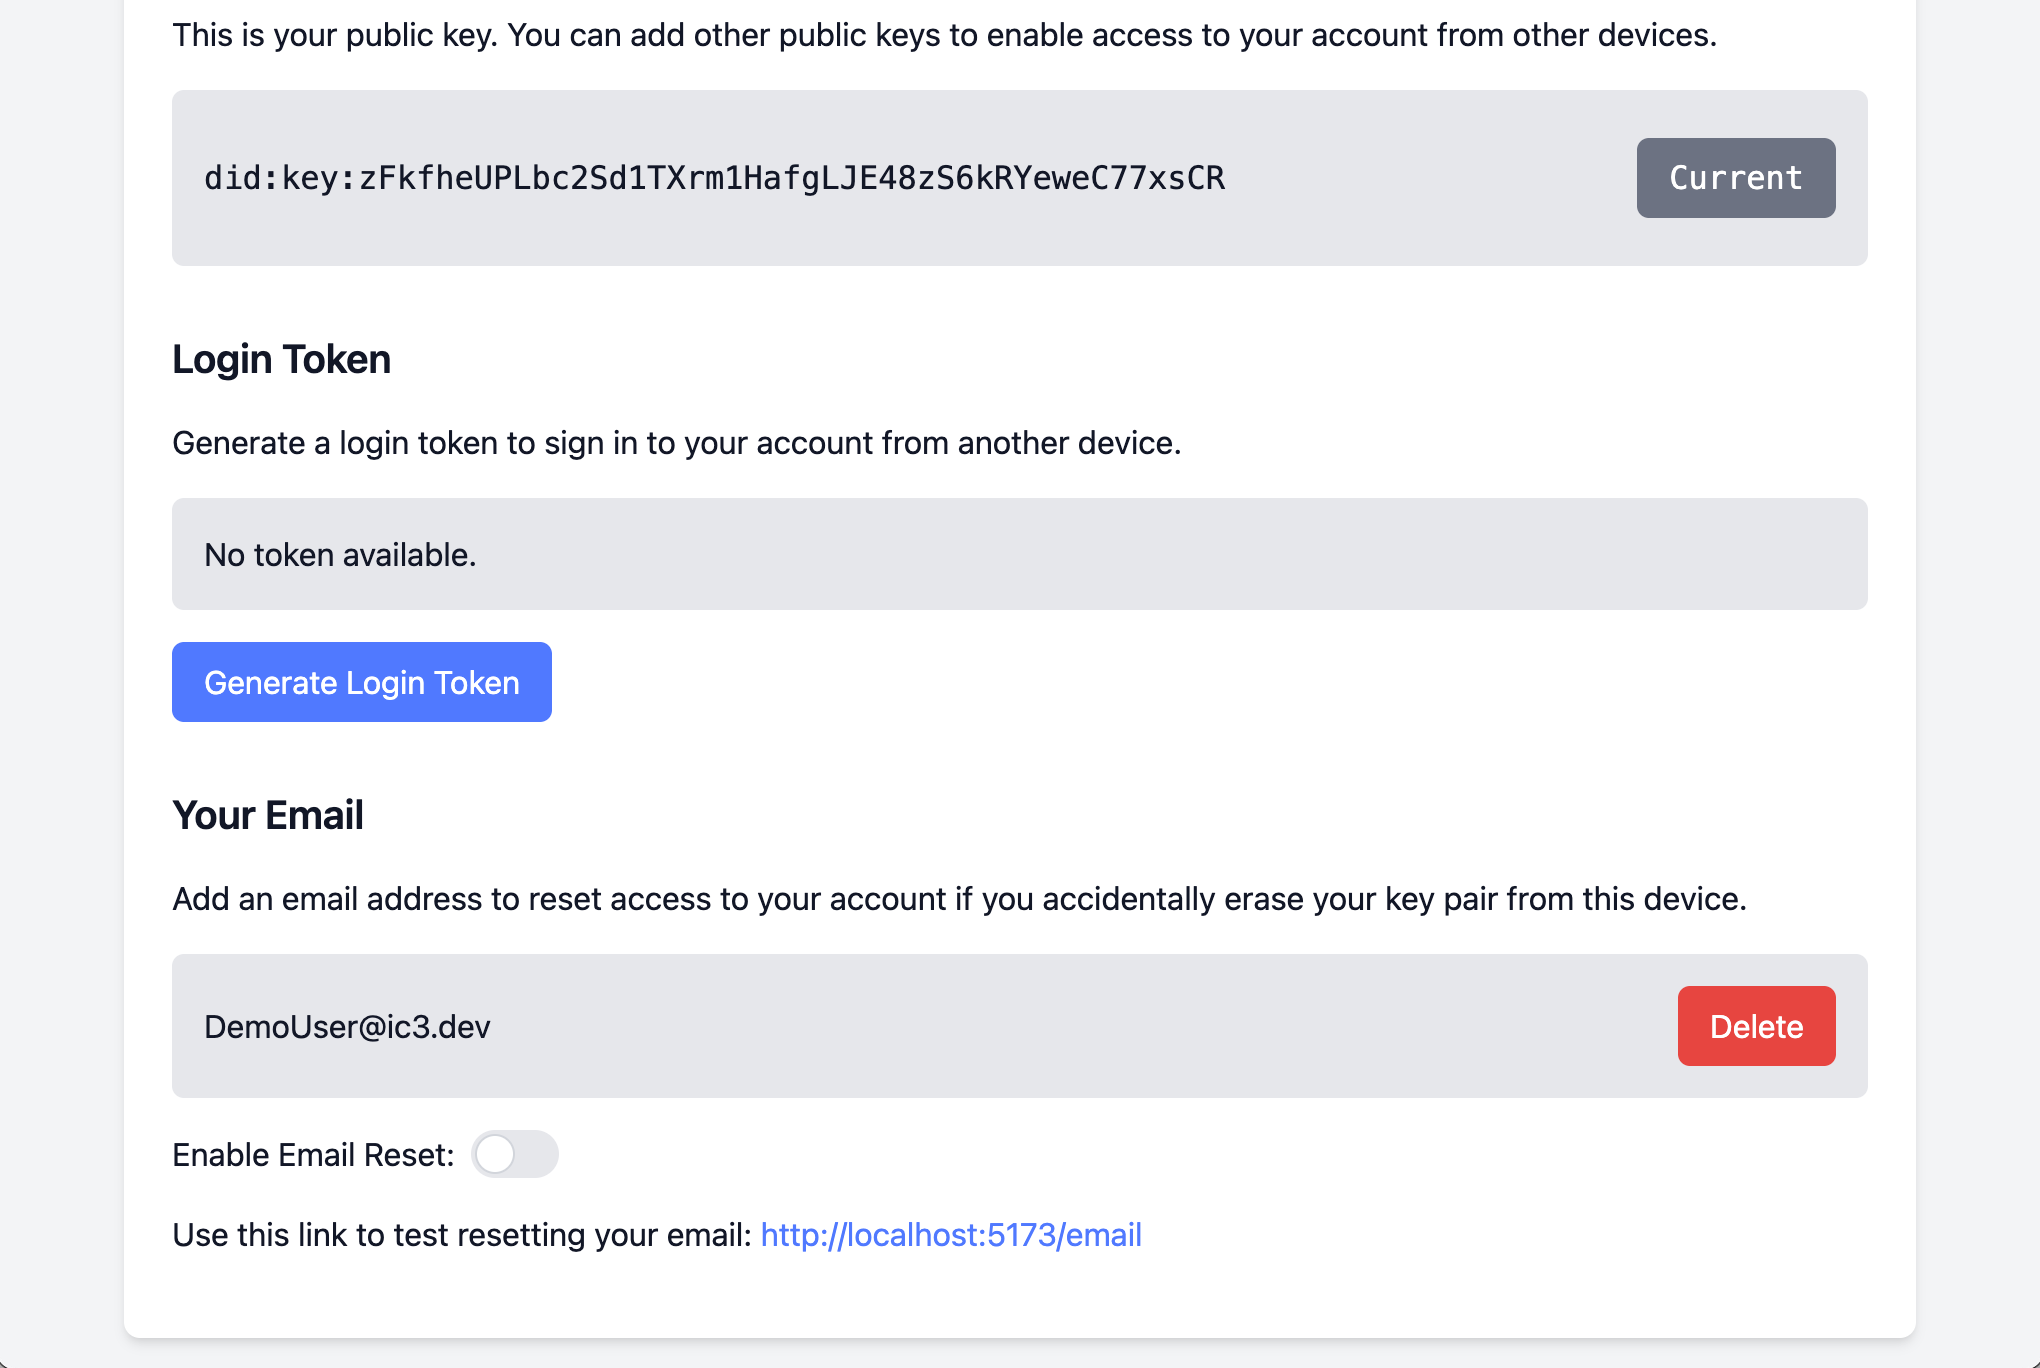
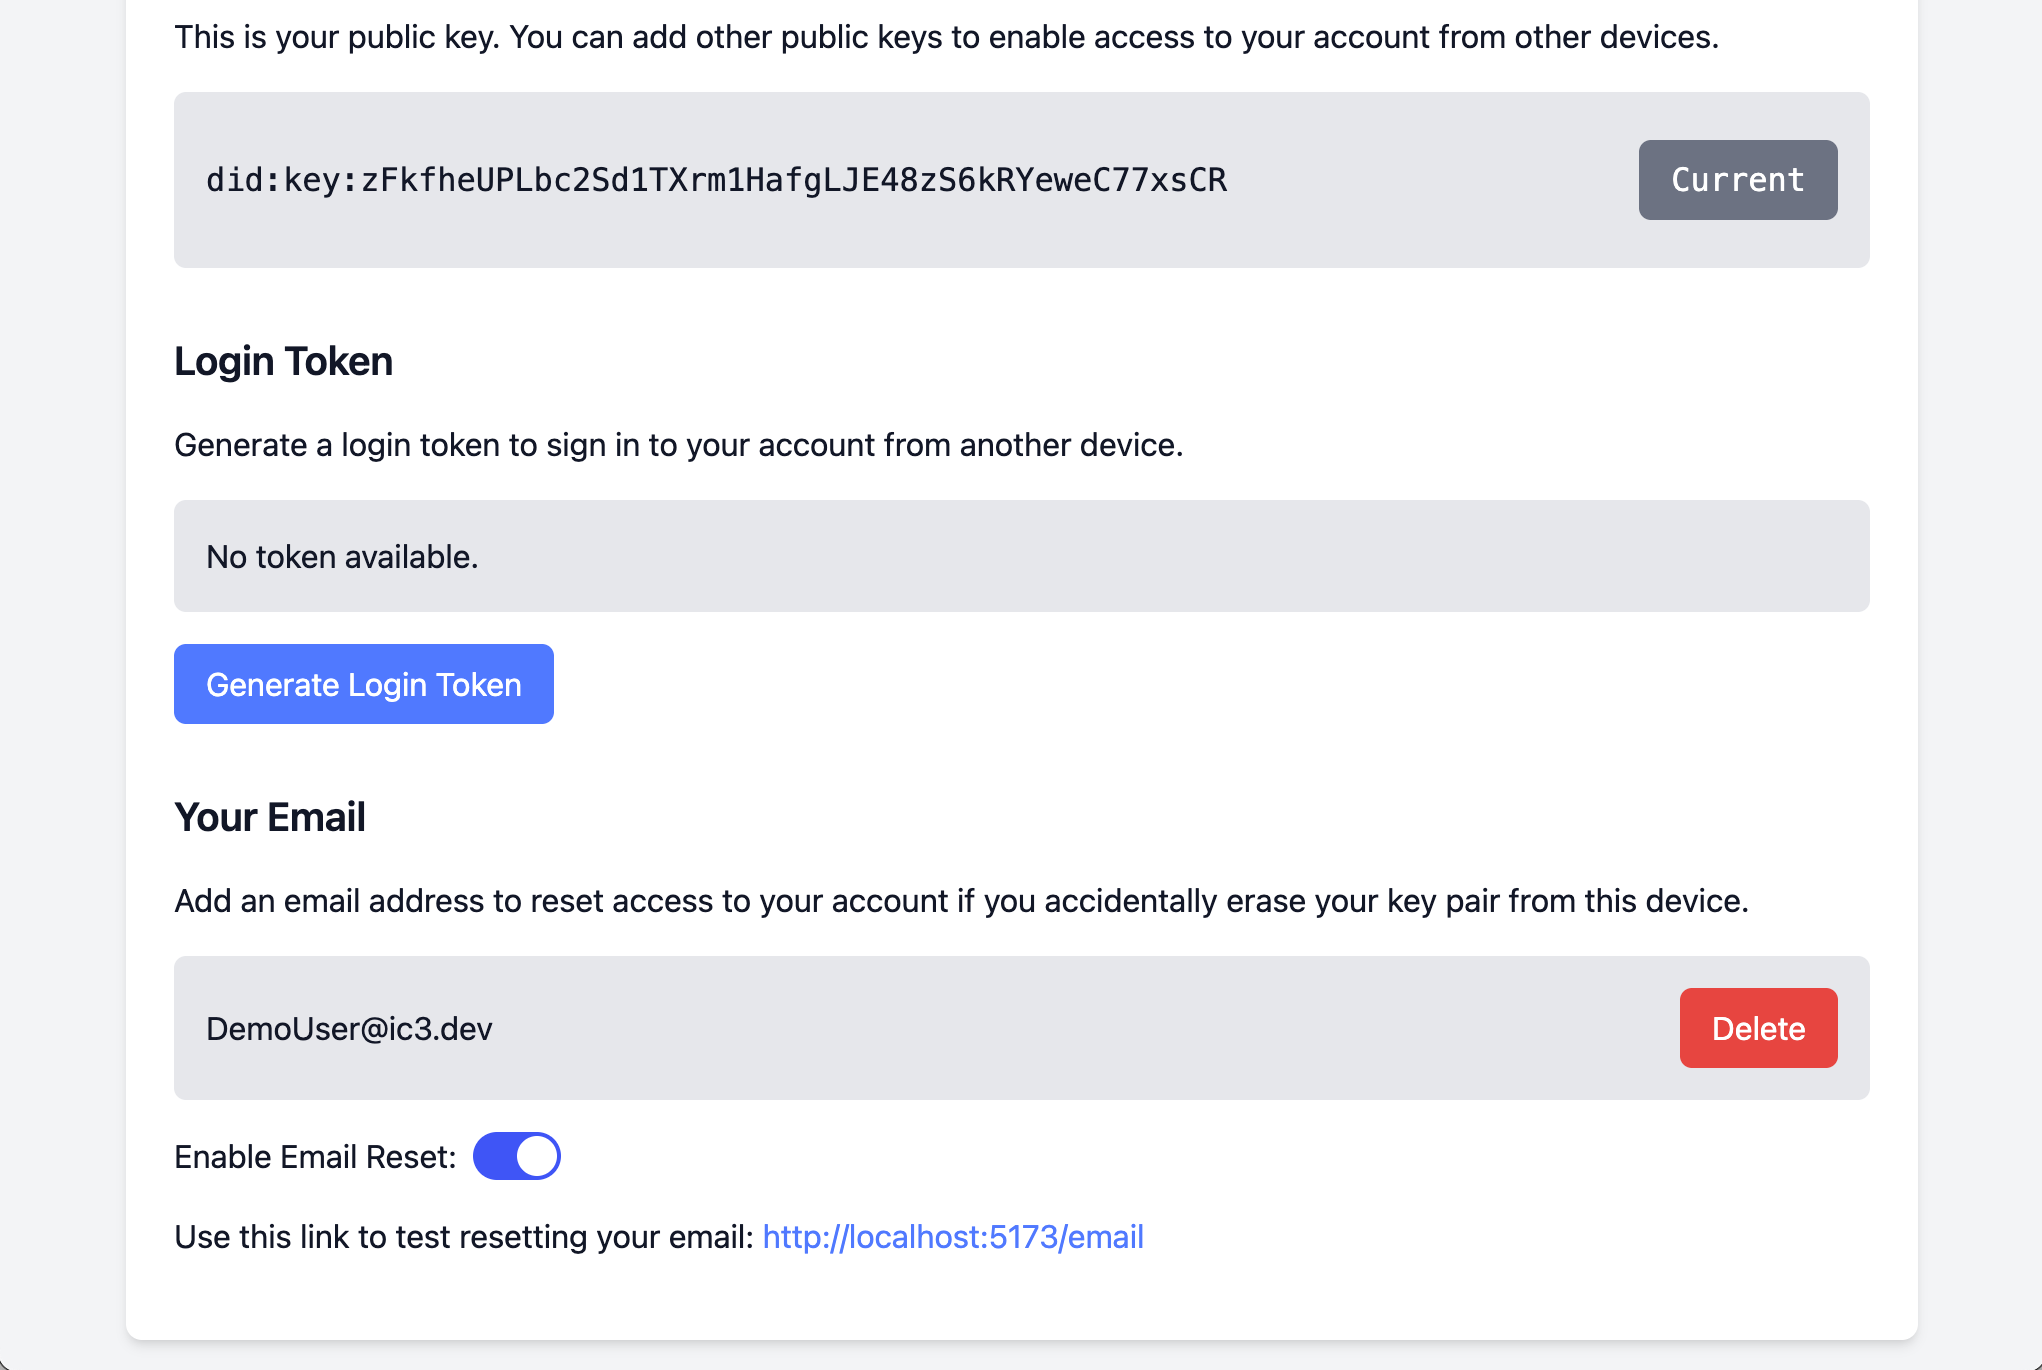
12. Enable email reset
The email reset option is disabled by default, so click the toggle to enable it.
Note the link that is displayed that you can use to test out the email reset feature.
13. Reset your account access
Now let’s imagine you lose your computer and need to get back into your account.
Use the link displayed above to reset your account access. You can emulate having lost access by doing the remaining steps in a private browsing window.
14. Fill in email address
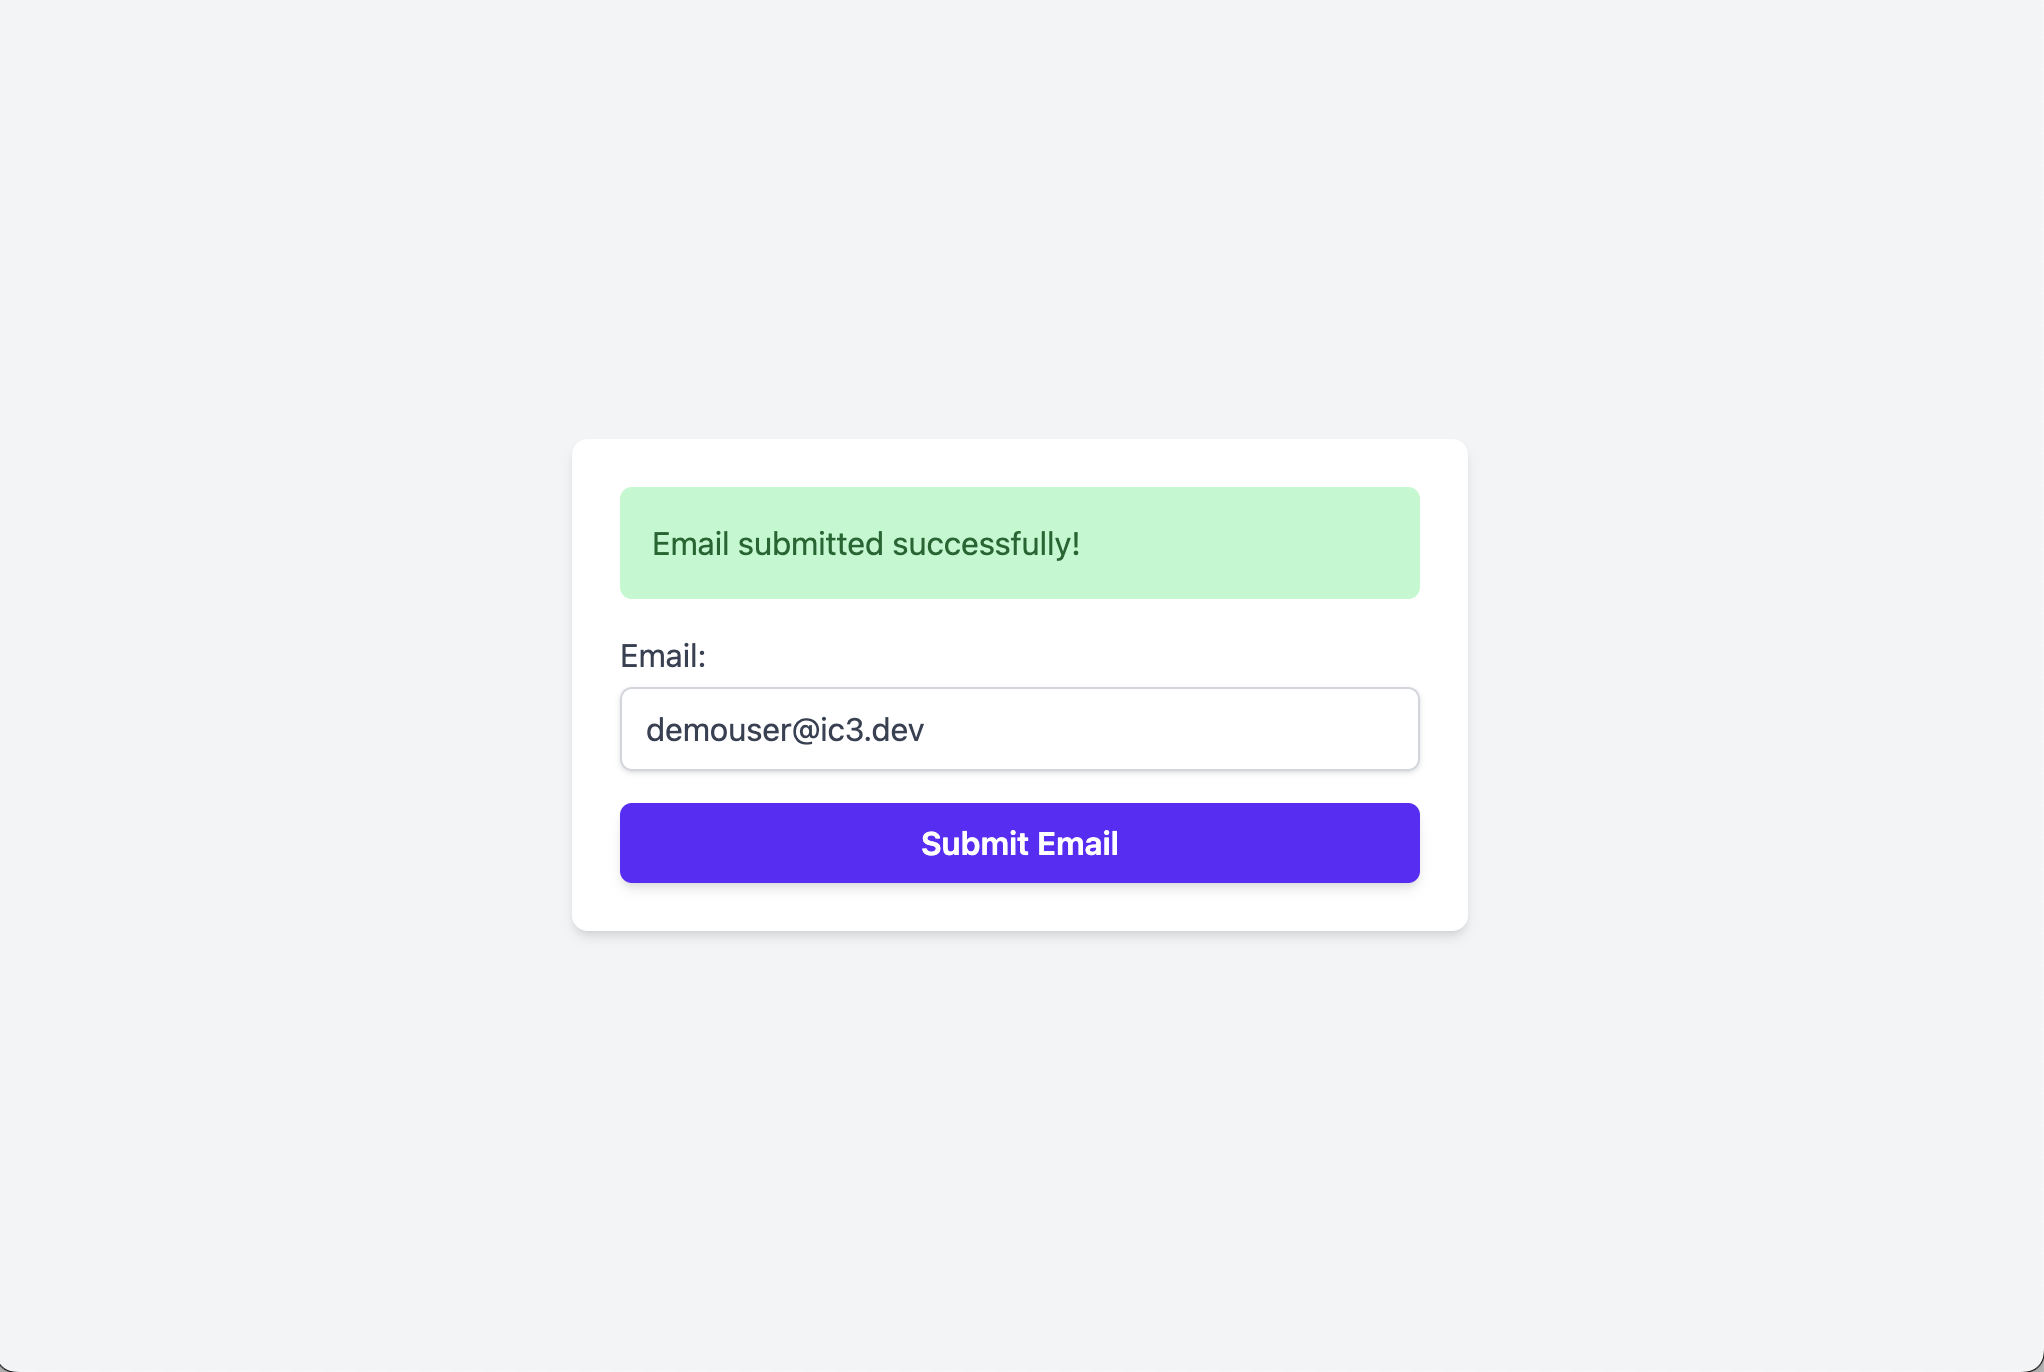
15. Email submitted
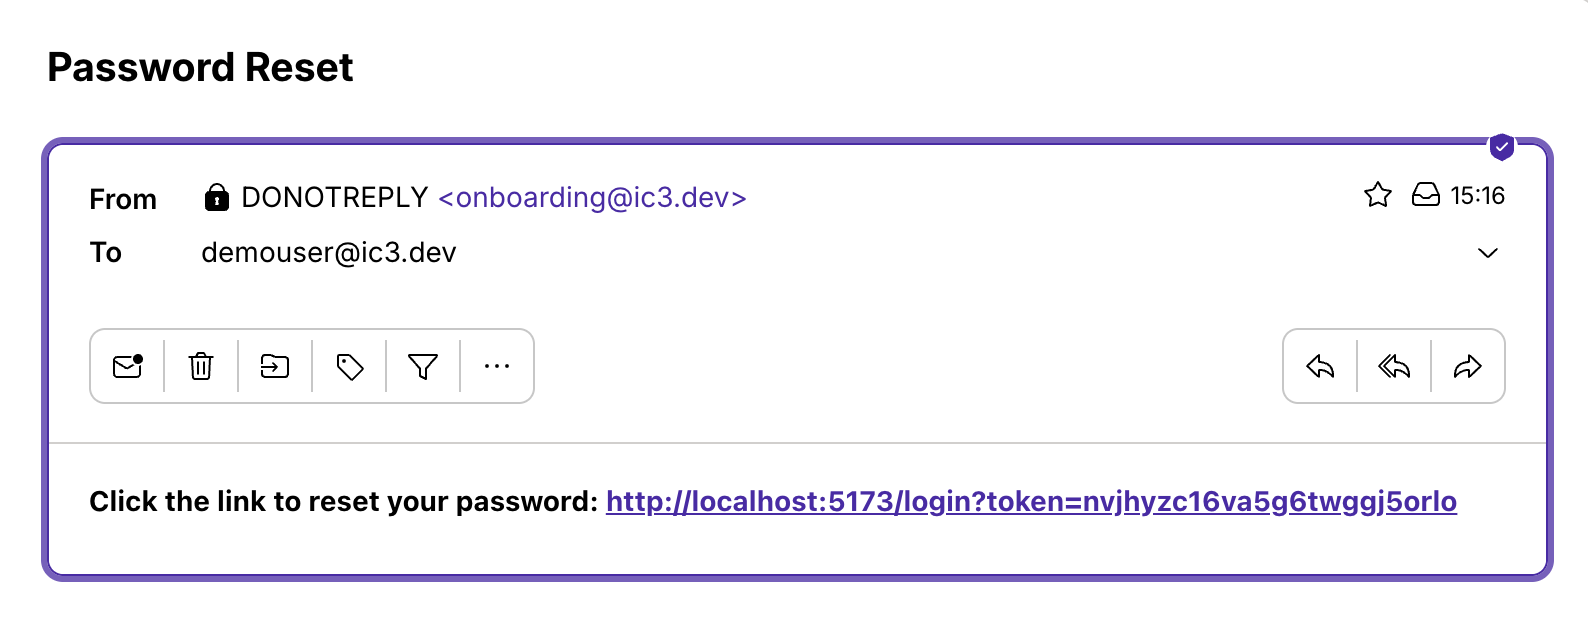
16. Account reset email
An email is sent with a Login Token that you can click to reset access.
We were sloppy here and called it a “Password Reset”. 🤦🏻♀️ We’ll rename it to “Account Reset” and “reset your account access”.
17. Access restored
Your access is immediately restored after you open the link.
Notice your old public key (with the Delete button next to it) is still there.
18. Delete the old public key
You can delete your old key since you lost your computer.
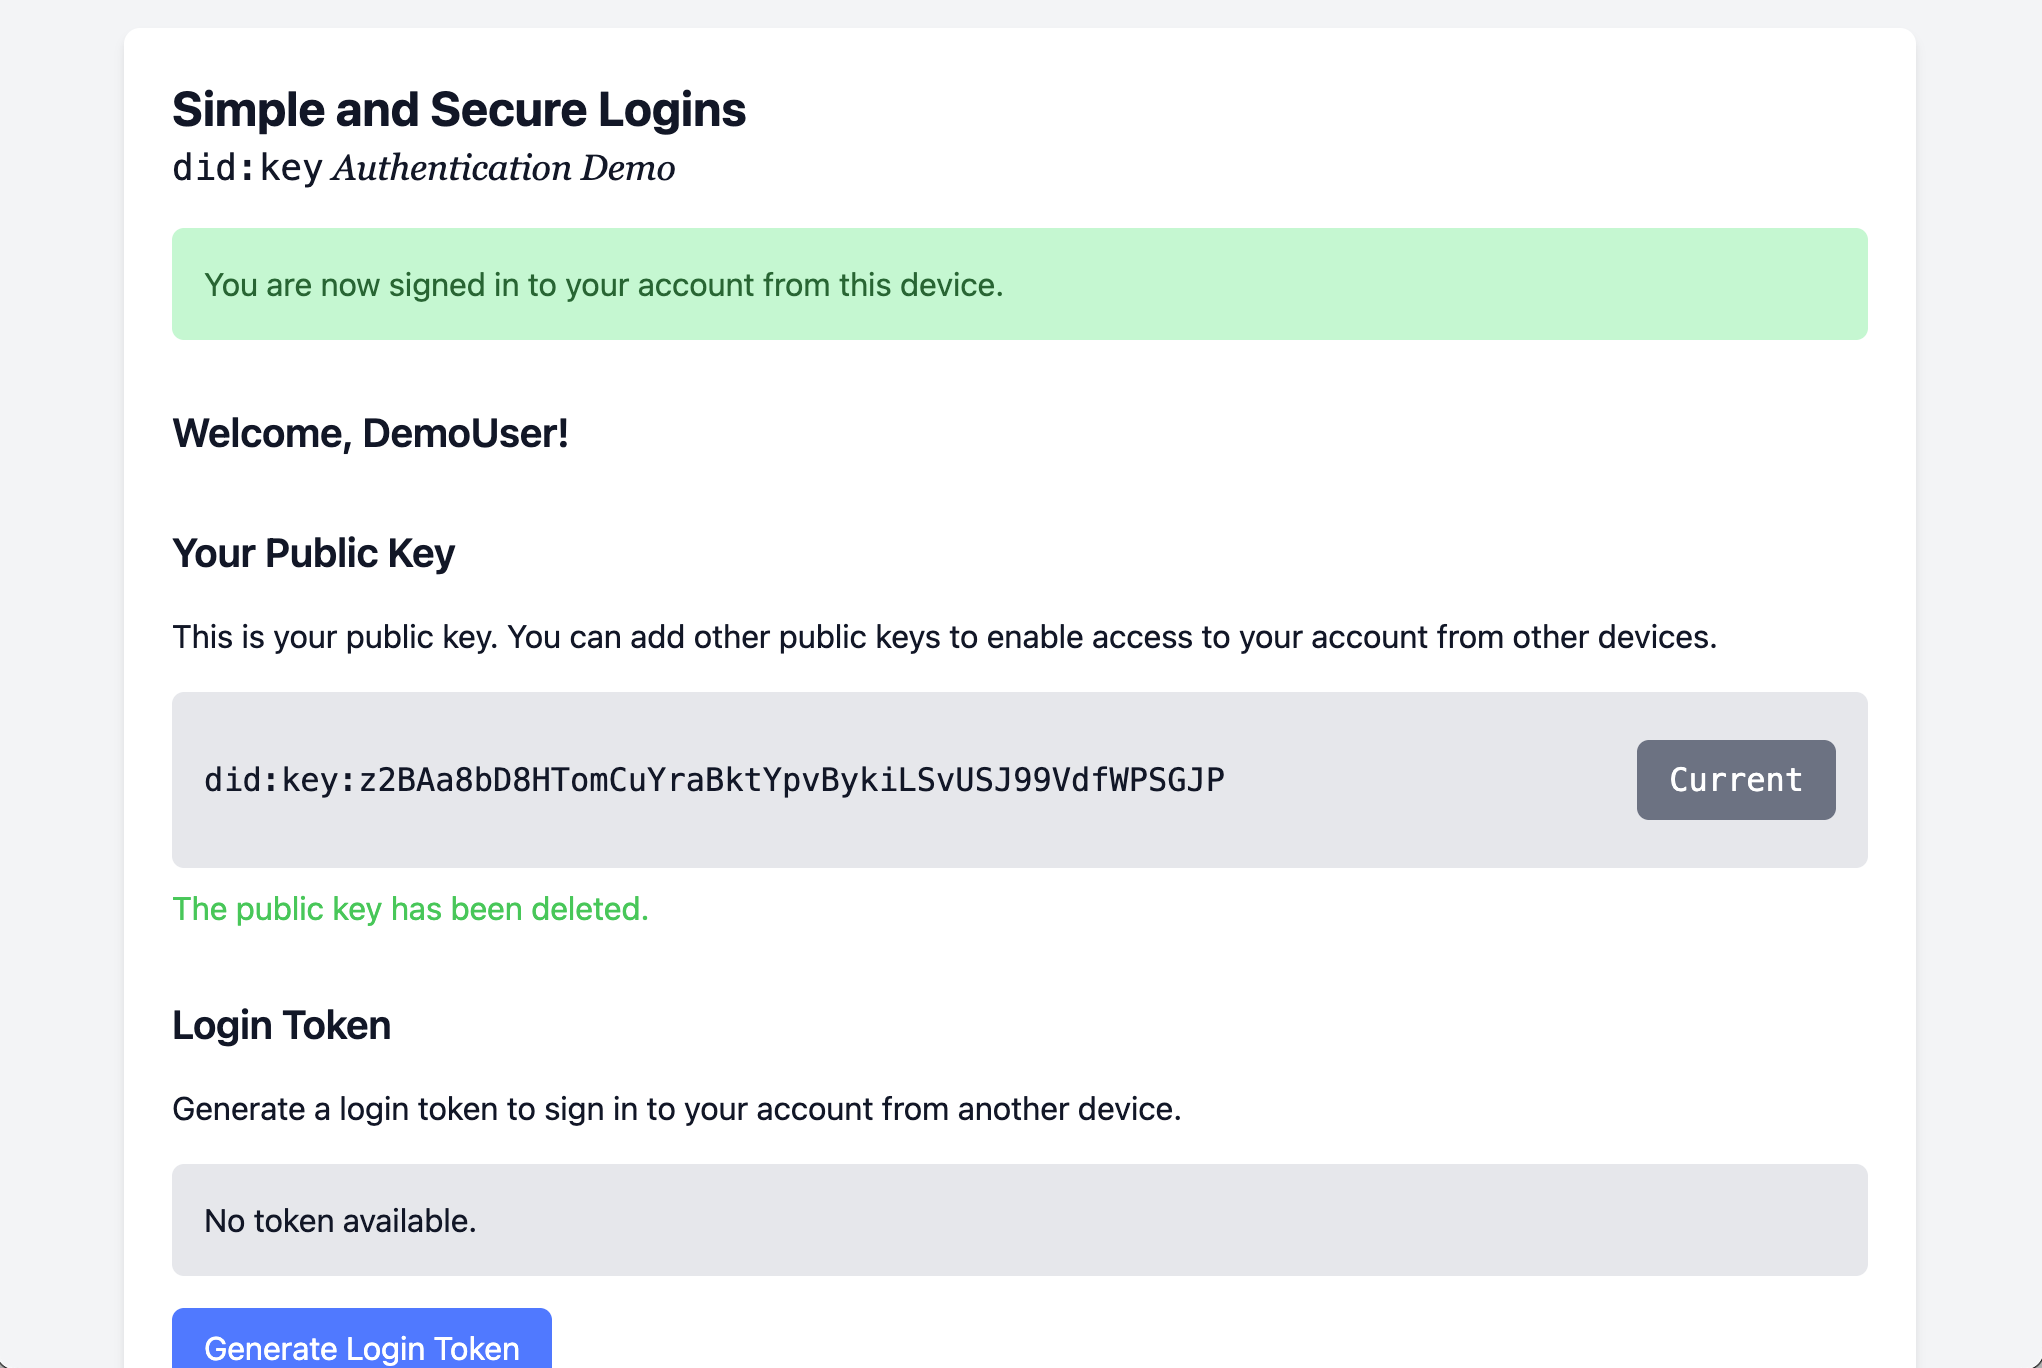
And that completes the demo.
Technical Details
Public key cryptography enable new solutions for controlling access to websites and related services.
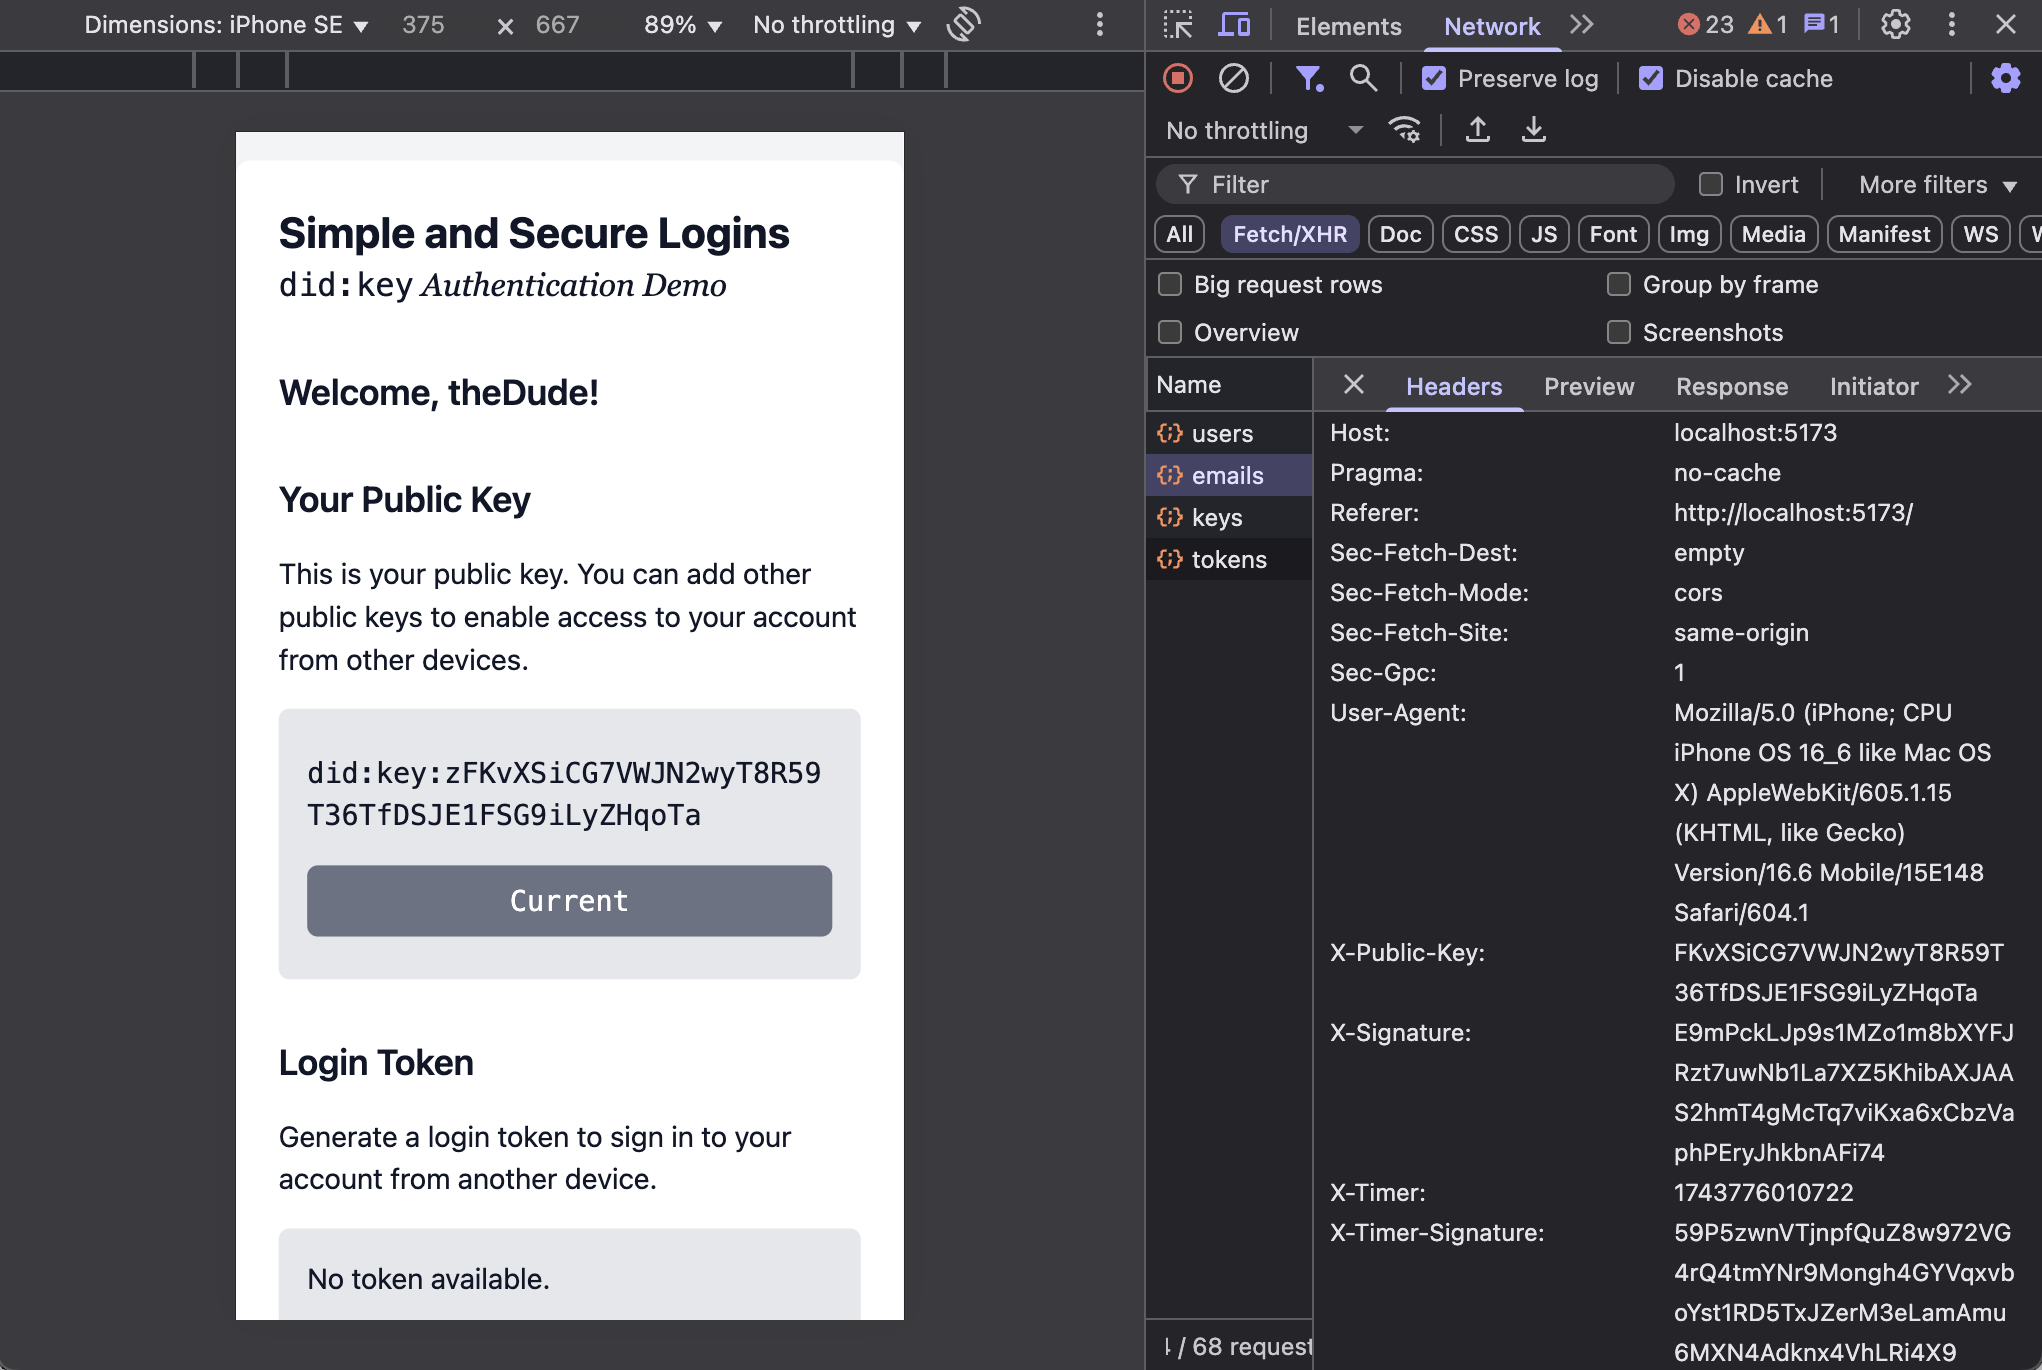
In this demo, access is controlled on every request since the client must include a signed timestamp. Note the X-Timer and X-Timer-Signature headers in the request shown in the Network tab of the browser’s developer tools:

The authentication flow is:
- The
X-Timer-Signatureheader contains the digital signature of the timestamp made by the client’s private key. - If the timestamp is off by more than 1 minute from the server, the request is rejected.
- If it is within the last minute, the signature is verified using the public key.
- If valid, the service checks that the public key is in the group’s database and linked to a member.
- If there is a key/member mapping, the action is then taken against that member’s account.
Notice how the signature of the timestamp changes whenever the timestamp is different, even if it is just a few milliseconds. Compare the values in the X-Timer and X-Timer-Signature headers above and below.
When the client is signing every request with its public key, and the server knows which user holds that public key, setting up and maintaining session tokens is no longer necessary.
Further, when the service that manages users (the “Group Core” service in the illustration below) synchronizes a mapping of usernames to public keys in a Registry (e.g., a Murmurations index can serve this purpose), other services linked to that group can authenticate users the same way.
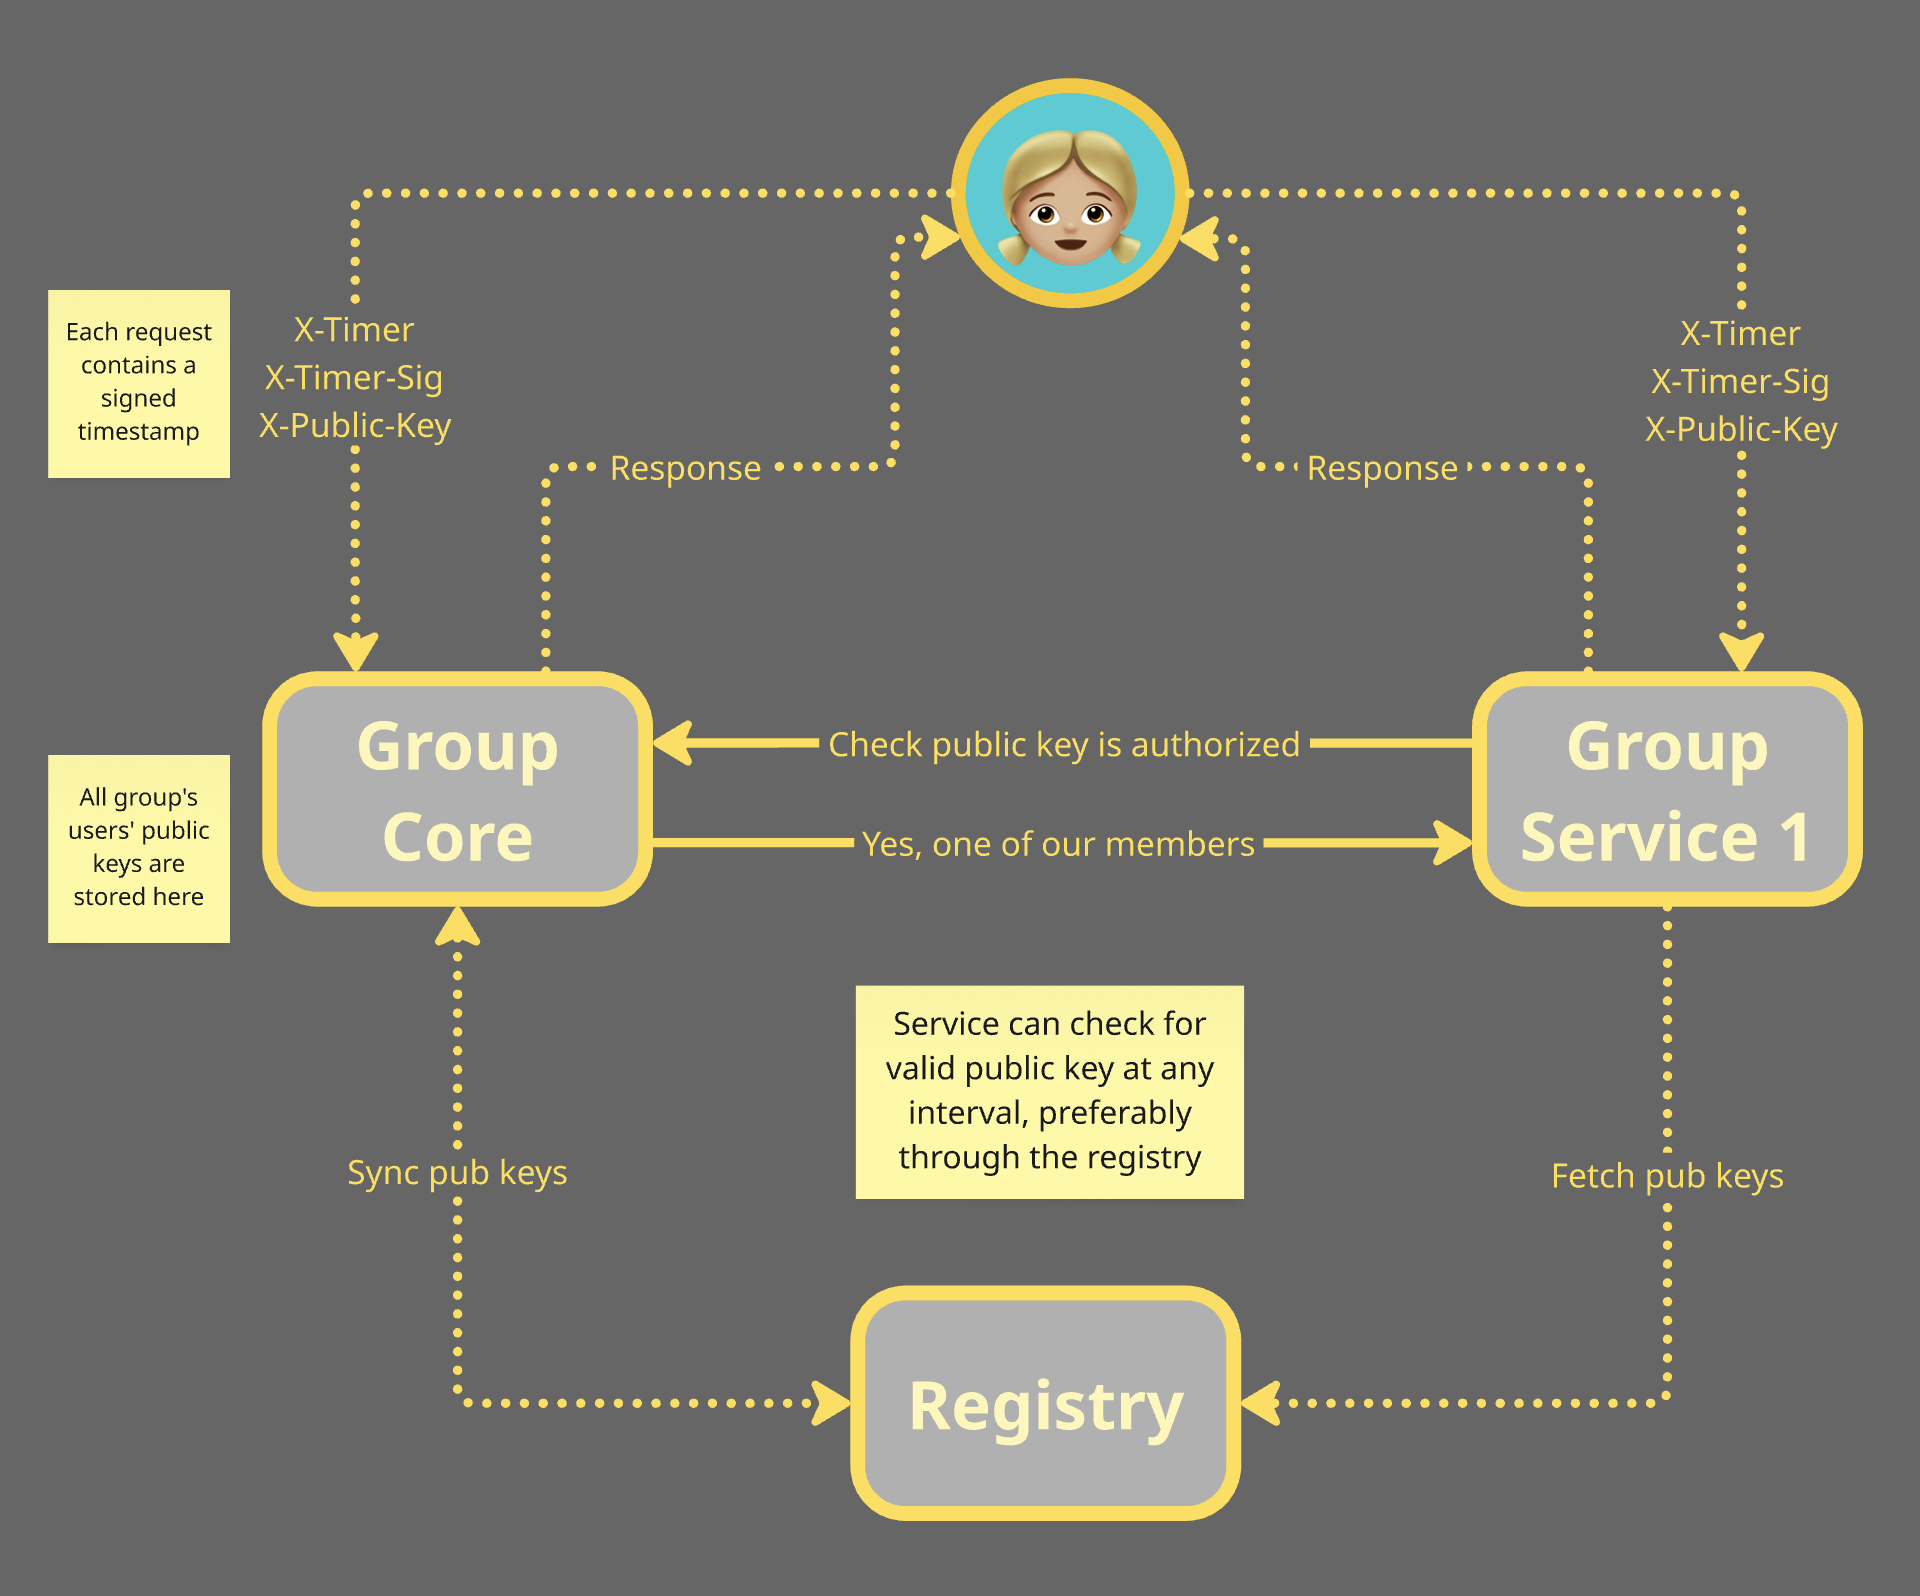
The usual session tokens issued by a separate authentication server are no longer necessary. The group server is the authentication server since it defines which public keys have access to it and the other services in its domain. By running multiple registries and syncing the user/public key mappings, we eliminate a single point of failure when group services need access to an up-to-date list of members’ keys.
The code for the above demo can be found here:
https://github.com/ic3software/did-auth
Note that we have not implemented registry syncing or fetching keys from a registry by another service, but that is certainly possible. We’re just too lazy to do it right now! 🤪 Plus we have other things we want to work on first (see below).
What’s Next?
So far we have shown how to leverage public key cryptography to enable a decentralized authentication service across a group’s services, while giving the group full control over who has access to those services.
In future code/demos/blog posts we will illustrate how user roles/permissions can be authorized from the Group Core service using UCANs.
Stay tuned!